
LoDi-Con manual
First start and Wi-Fi
Once the batteries or cells are in the LoDi-Con, you can start the device with a long press (> 2 seconds) on the rotary knob.
The LoDi-Con has a high-quality capacitive touch display. Beyond that, almost every menu entry can be set or reached with the rotary control — a combined operating concept that responds quickly and is easy to grasp.
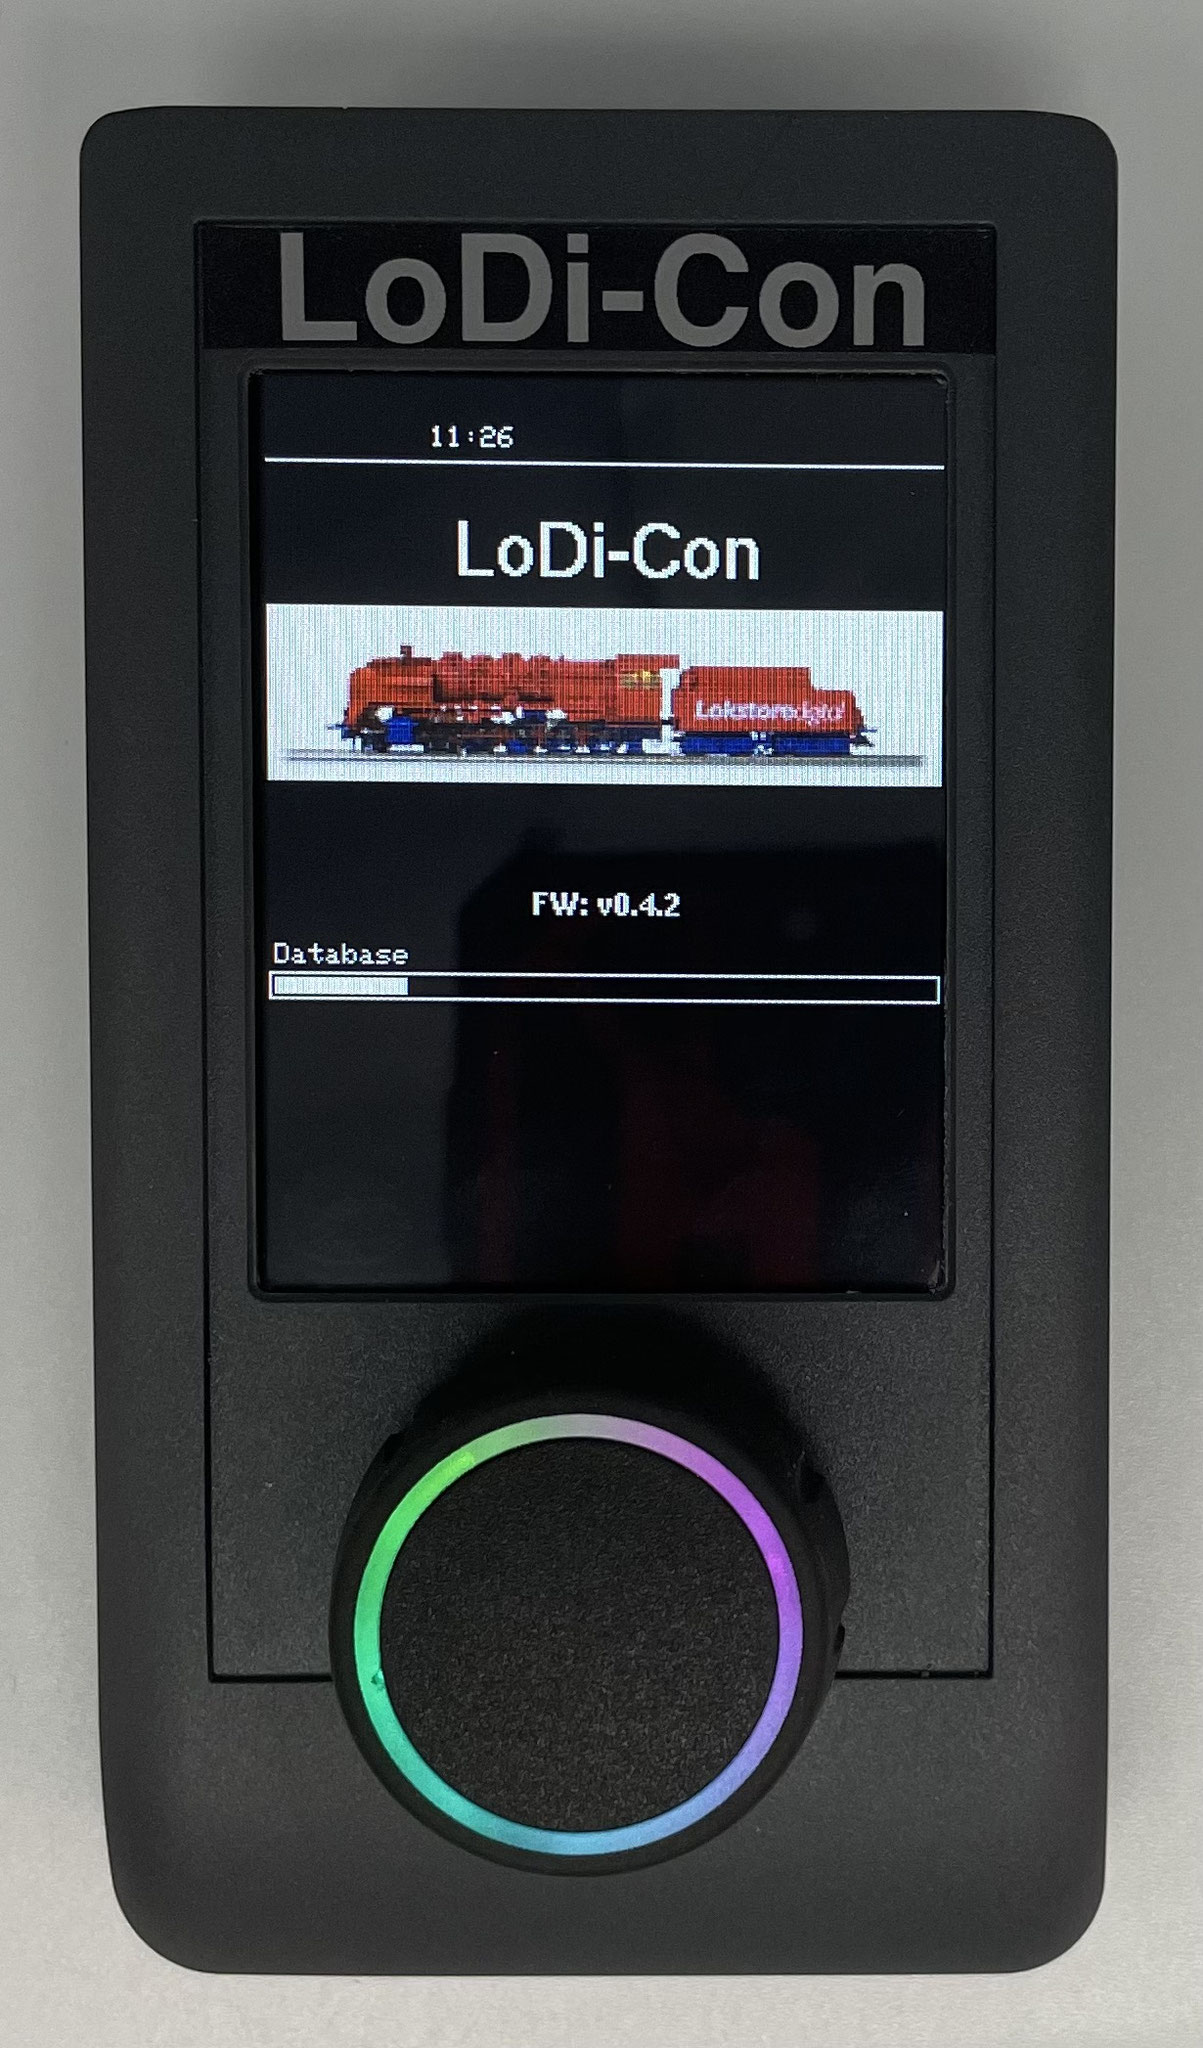
At the moment of starting, the rotary control begins to light up in colour, clockwise. That is the loading indicator: whenever the LoDi-Con turns the control in rainbow colours, it is loading or saving data.
While that happens you still see the start screen of the device, which always shows the installed version.
First comes the language prompt, where you can currently choose between two languages:
1. English
2. German
3. Dutch (in progress)

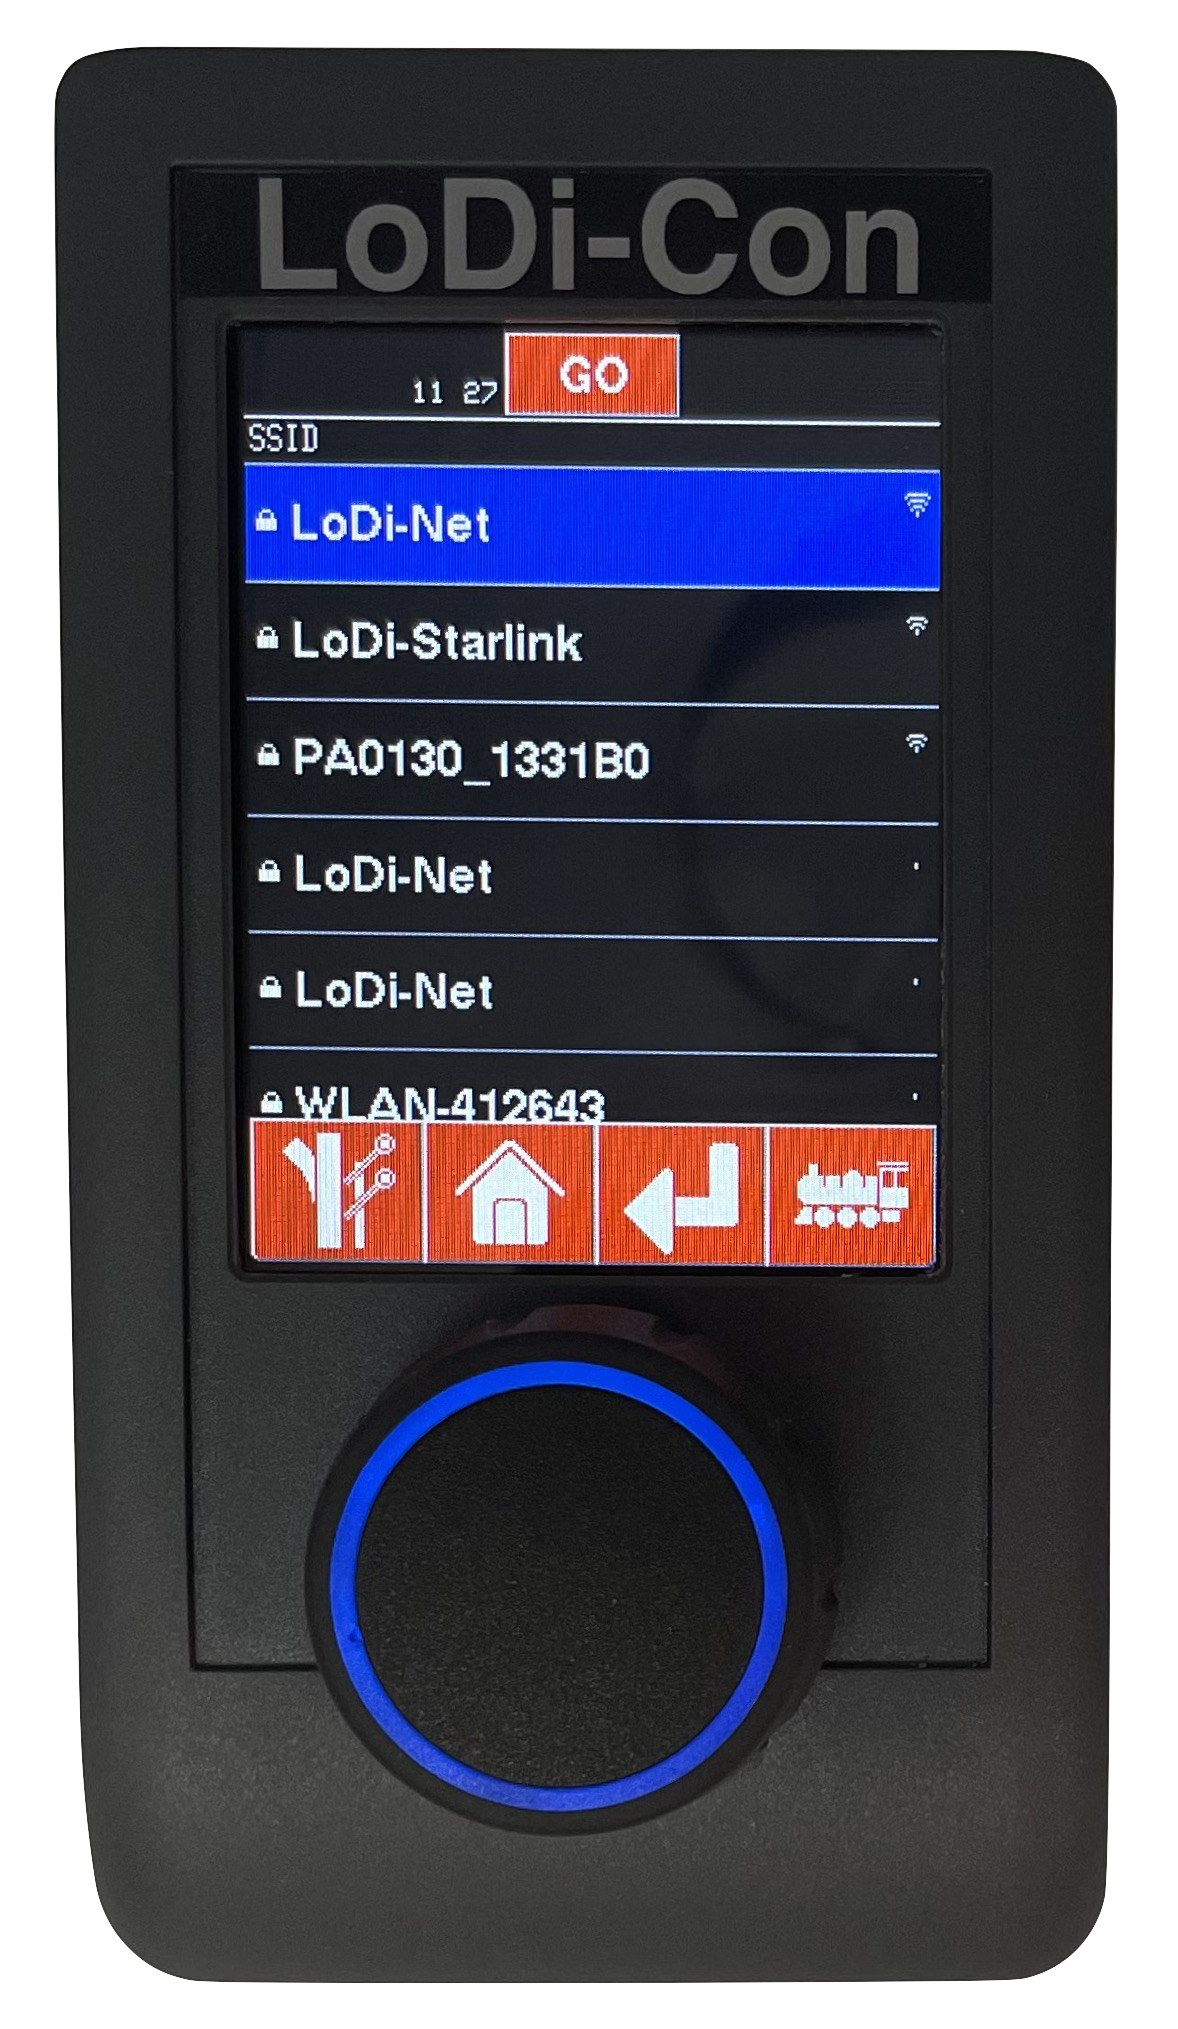
Once the LoDi-Con has started, it asks you straight away to connect to a Wi-Fi network.
The LoDi-Con has a Wi-Fi module and two Wi-Fi antennas, to give it the best possible reception.
Choose your network and enter your password when prompted.
Is there a router on the network? Then the LoDi-Con should be given an IP address over DHCP right away.
After you enter it, the LoDi-Con connects to the network.

For advanced users:
If you have built a small network of your own, you may have to adjust the IP address.
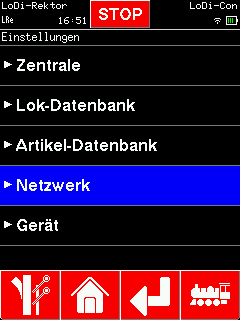
In that case go back to the house symbol > Settings > Network.
You are now in the network settings menu.
There you can connect to a different network or set an IP address by hand.

Would you like to see the quality of the devices for yourself?
Get in touch with us HERE!
Visit our forum, where experienced users are happy to help you.