
LoDi-Con manual
Creating loco images
Introduction
The LoDi-Con lets you bring in your own locomotive images in JPEG and PNG format. They may be up to 190 × 48 pixels in size. In the case of PNG a transparent background is even allowed. The guide below describes how to produce your own locomotive images.
GIMP
Producing locomotive images is explained using GIMP. This capable free graphics program runs on Windows, Linux and macOS and can be downloaded freely at https://www.gimp.org/downloads/.
Other similarly capable programs can be used to produce locomotive images as well.

What the image has to meet
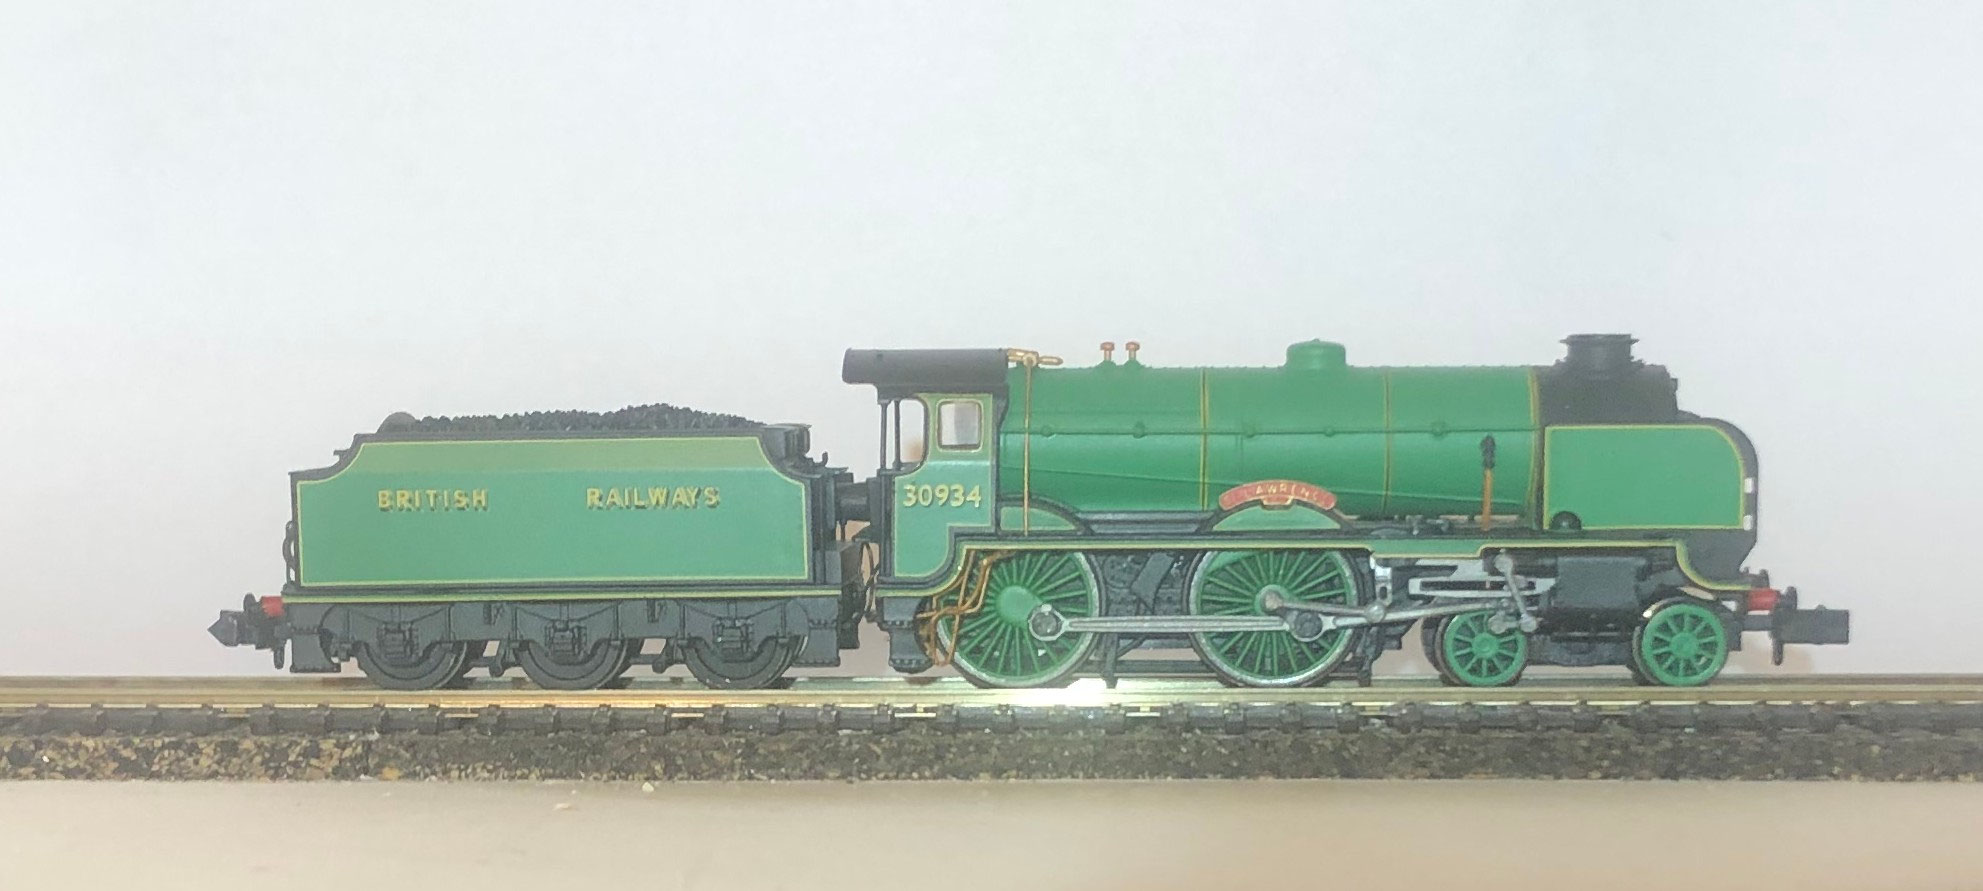
The locomotive image can be taken with any phone camera. What matters is good lighting without shadows or highlights, and a sharp picture. Beyond that, keep an eye on the horizontal alignment — although that can also be corrected in GIMP afterwards.
A white background, or one that contrasts as strongly as possible with the colour of the locomotive, is recommended. For larger collections, building a light box with a fixed camera mount makes sense.

Editing steps
Horizontal alignment
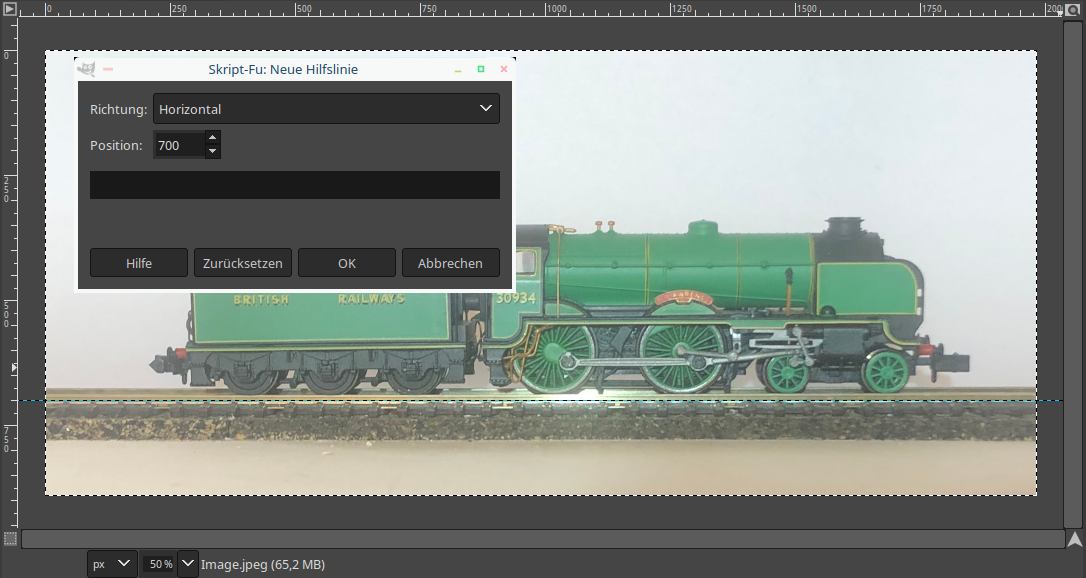
After opening the image in GIMP it should first be aligned horizontally. To do that, add a horizontal guide at the height of the track: Image ►Guides ►New Guide … . You can read the approximate position off the ruler on the left.
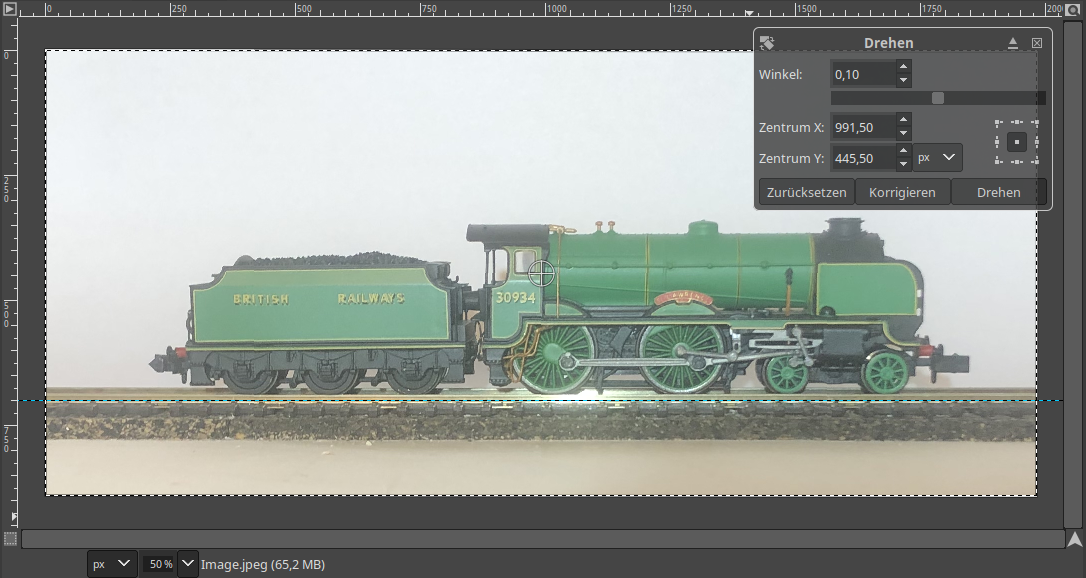
Then choose the menu entry Image ►Transform ►Arbitrary Rotation … and correct the alignment of the image against the guide and the track.

Removing the background
This step is optional. It is not needed for producing JPEG images.
First an alpha channel has to be added to the image if it does not have one yet; it holds the transparency information. Choose Layer ►Transparency ►Add Alpha Channel. If the entry is greyed out, the alpha channel is already there.
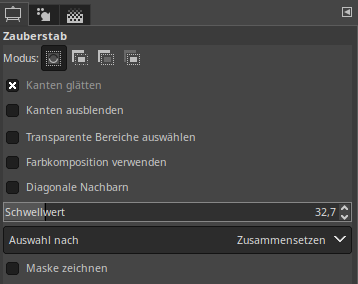
Then choose the fuzzy select tool from the toolbox.
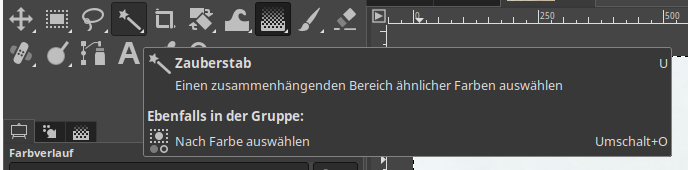
Set the tool up as follows:
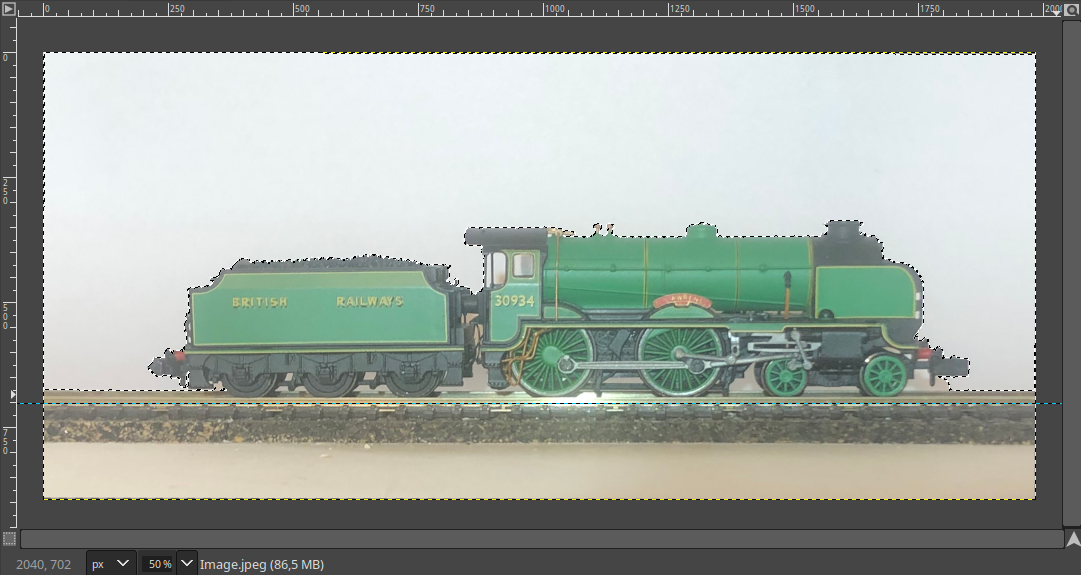
Then click the background. The area to be deleted is outlined.
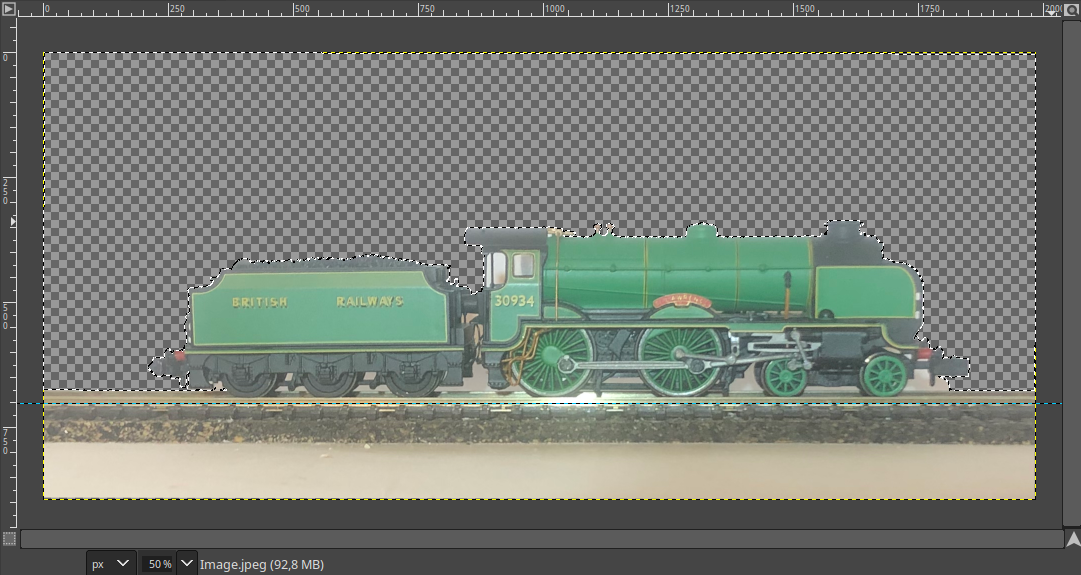
Now press the Del key. The selected area is deleted and replaced by transparency.
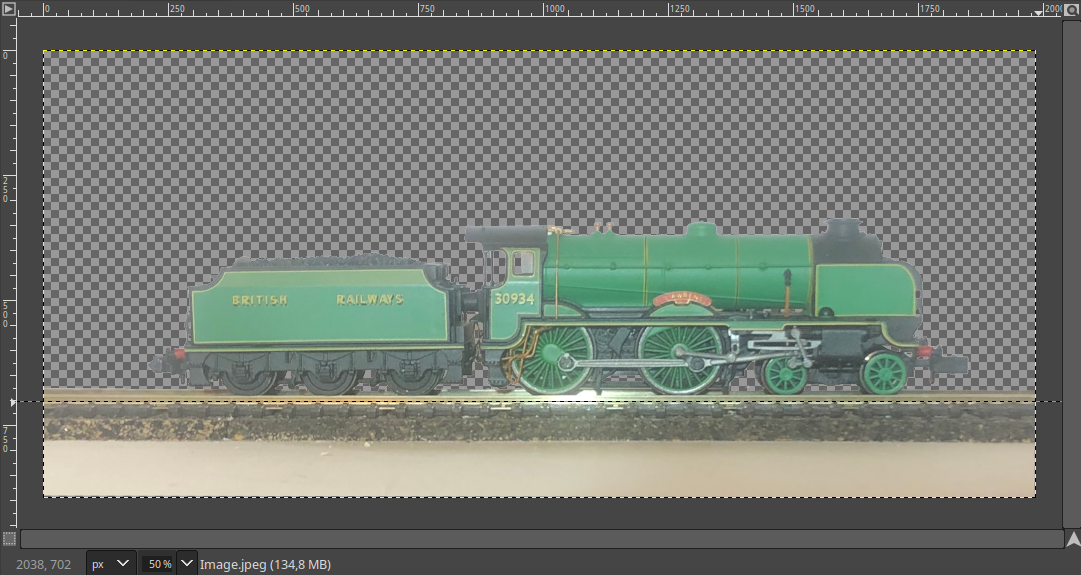
Repeat this for every other area of background. Take care that no white edges are left over, and experiment with the threshold of the fuzzy select tool.

Increasing the contrast
The next step raises the contrast of the image, for the best possible result on the display. Choose the Colors ►Levels dialog for this.
In the dialog, move the arrows in the input levels area so that they cover only the colour range actually used.
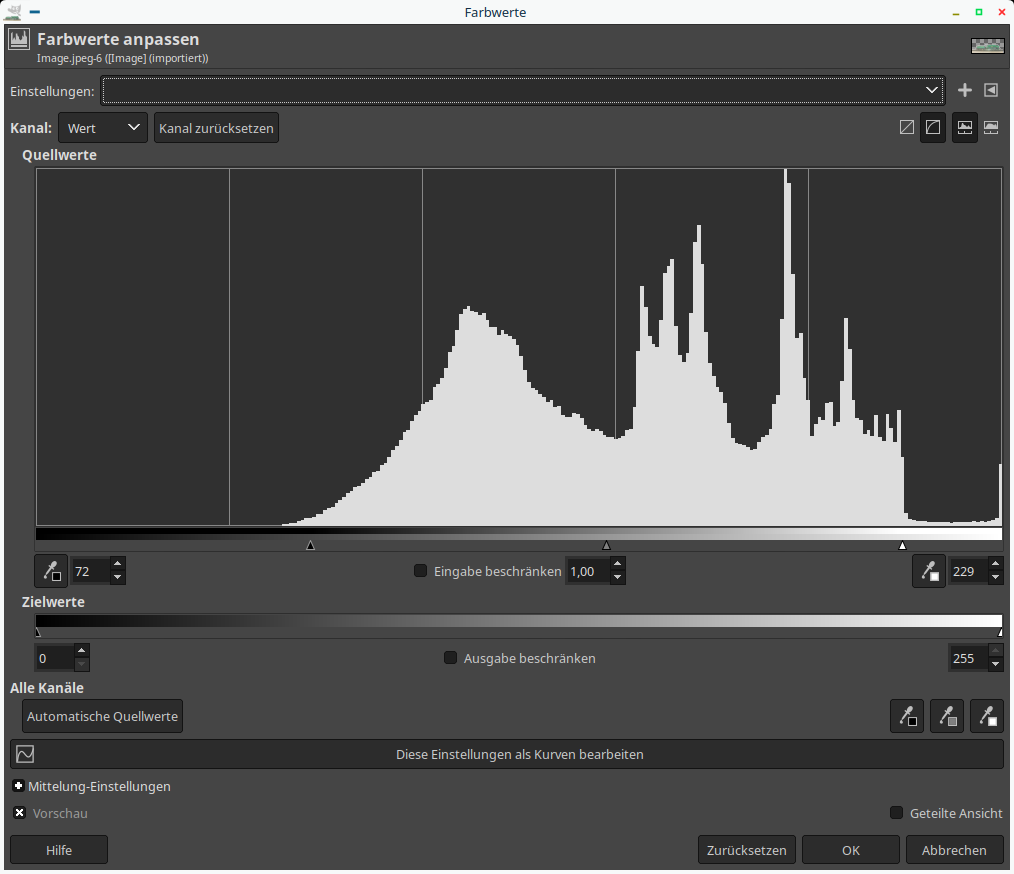
After confirming the dialog, the colours of the image look distinctly stronger.
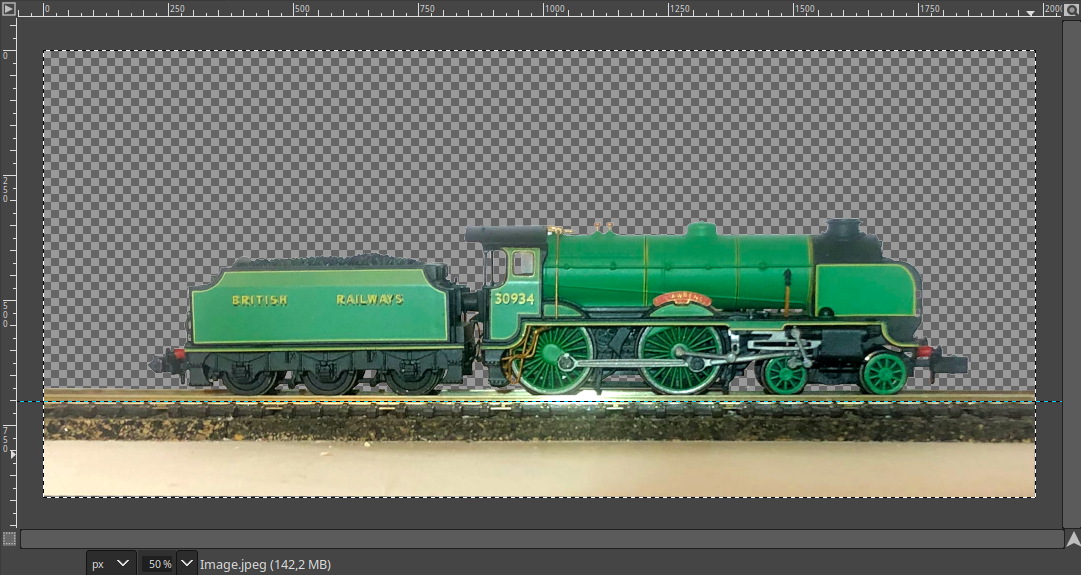

Cropping the image
This step fits the image to the size of the locomotive. Select a rectangular area around the locomotive that is as tight as possible and crop the image to it with Image ► Crop to Selection.
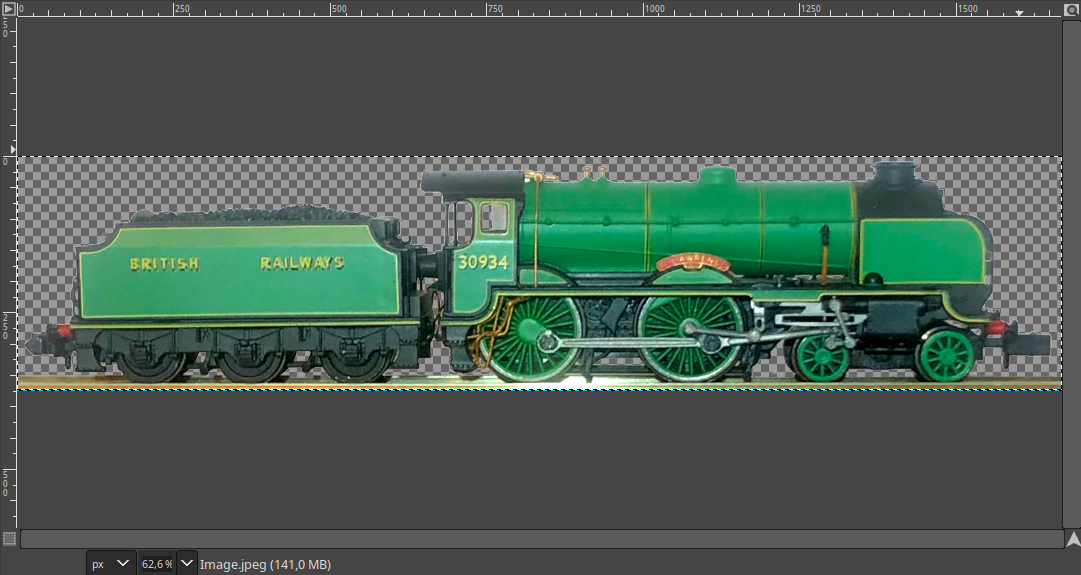
You may want to save this image first, so that you can produce further formats from it.

Scaling the image
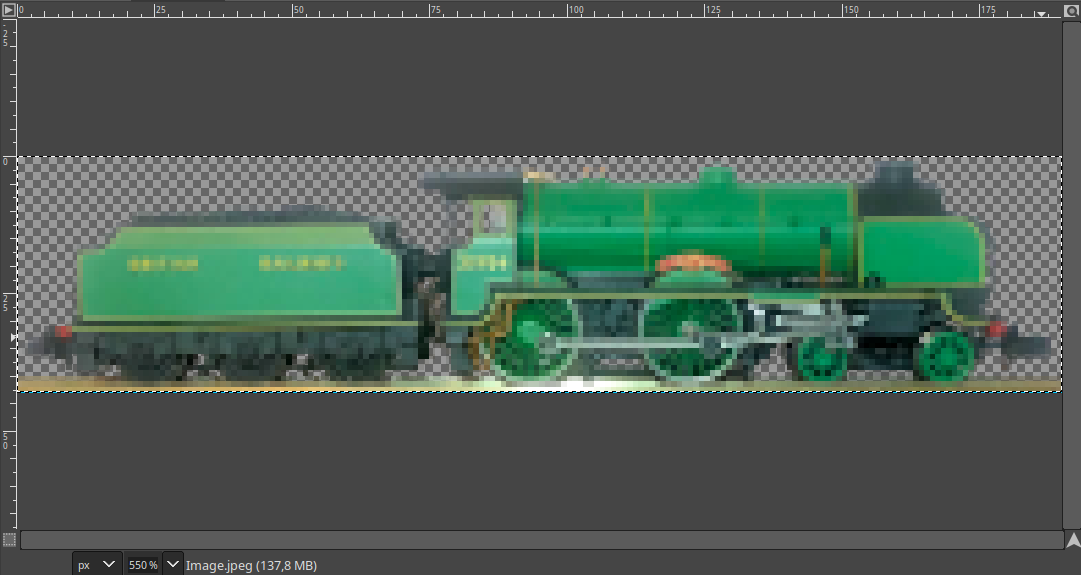
Now the image is scaled to its final size. Choose Image ►Scale Image … for this. For long locomotives you can set the width to 190 pixels; the height follows automatically. For short locomotives it is better to set the height to 48 pixels. Take care not to exceed the maximum image size of 190 × 48 pixels.
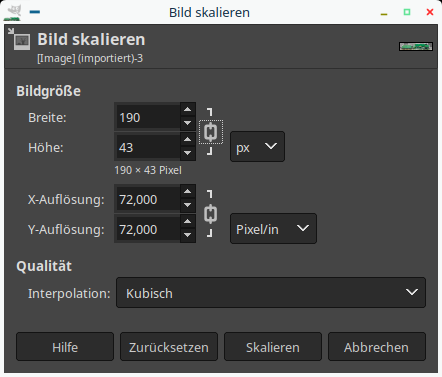
After scaling, the result looks roughly like this:

Exporting the image
The last step saves the image in the target format. Use File►Export As … for this.
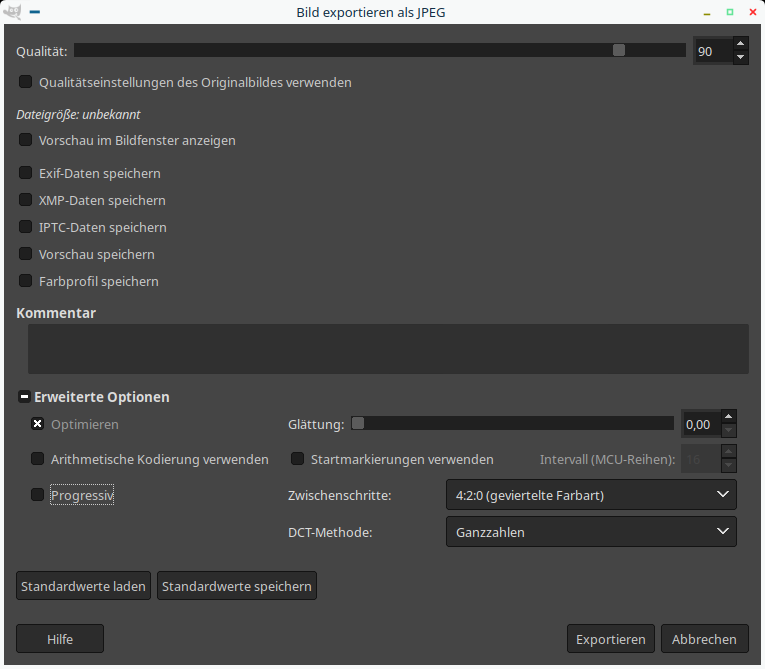
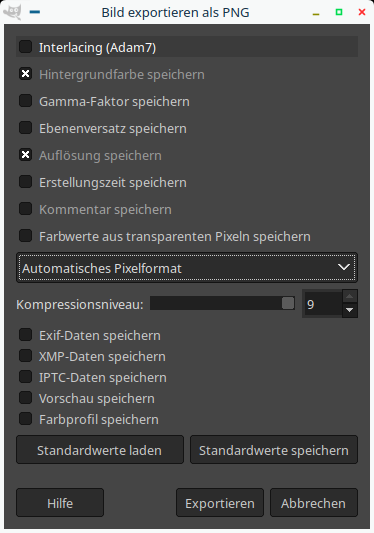
The file type is set by the extension: choose .png for PNG and .jpg for JPEG. After clicking Export, the export options for that format are asked for.
For JPEG choose the following settings:
For PNG the following settings should be used:

Uploading locomotive images to the LoDi-Con
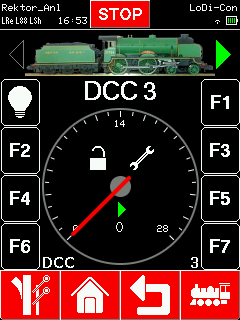
Once the image has been edited it can be transferred to the LoDi-Con with the LoDi-ProgrammerFX. How that works is explained here.
After uploading to the LoDi-Con, a PNG with transparency looks like this:

Would you like to see the quality of the devices for yourself?
Get in touch with us HERE!
Visit our forum, where experienced users are happy to help you.