
Software
LoDi-TrainSpeed
Settings and firmware update
Like the LoDi-Booster, the LoDi-TrainSpeed converts the control signal coming from the LoDi-Rektor over the LoDi bus.
The address as delivered is 48. Would you like to change the LoDi-TrainSpeed's address? Click here and go to point 1.
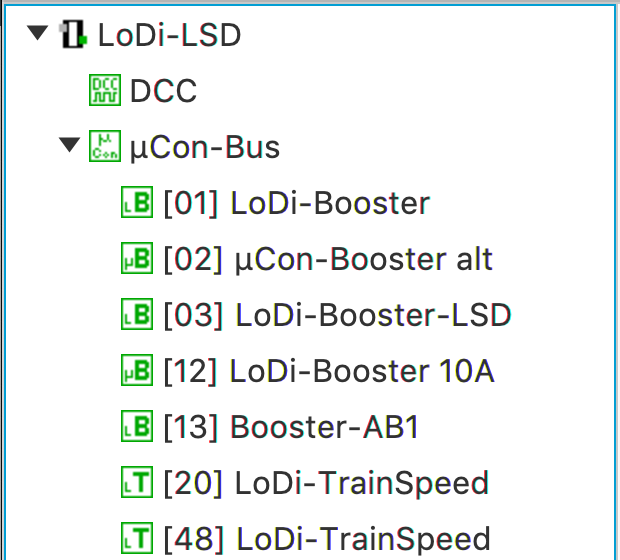
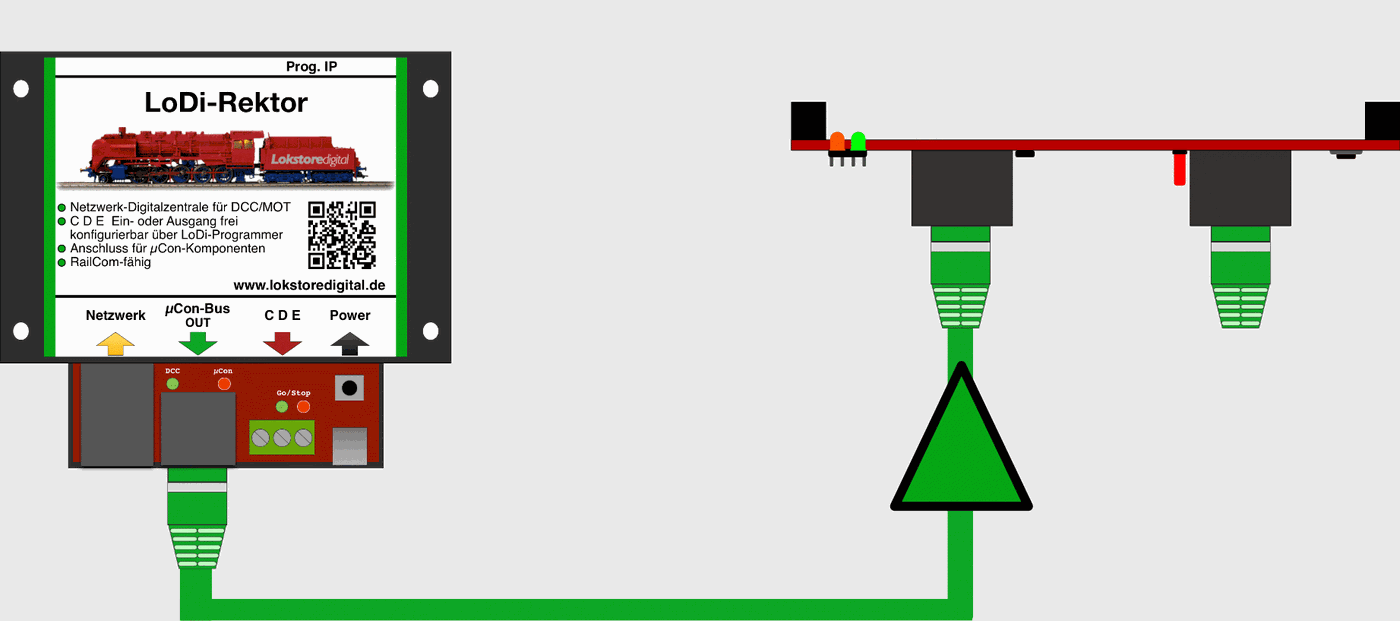
Immediately after being hooked onto the LoDi bus, the LoDi-TrainSpeed is detected by the LoDi-ProgrammerFX.
1. Changing the LoDi-TrainSpeed's address
As delivered, the LoDi-TrainSpeed is set to address 48, as mentioned above. That can stay as it is and only has to be changed if you want to add a second LoDi-TrainSpeed to the system.
First start the LoDi-ProgrammerFX and go to the LoDi bus (1); the following dialogue now opens:
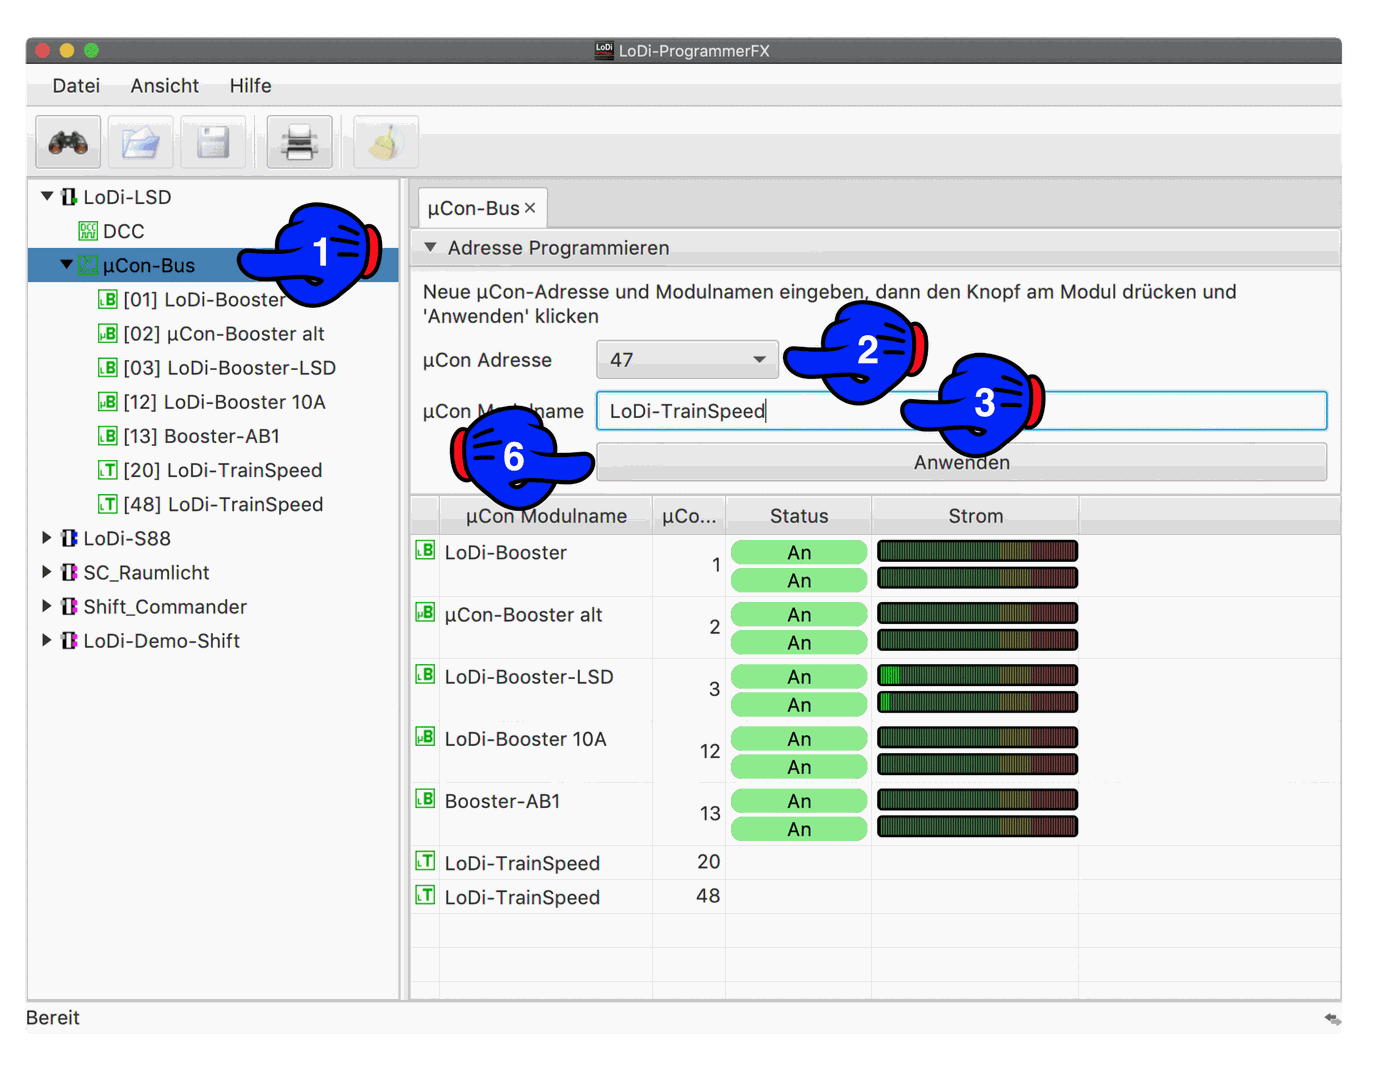
Now select the new address the device is to be given (2). A name for the device can then also be entered at (3).
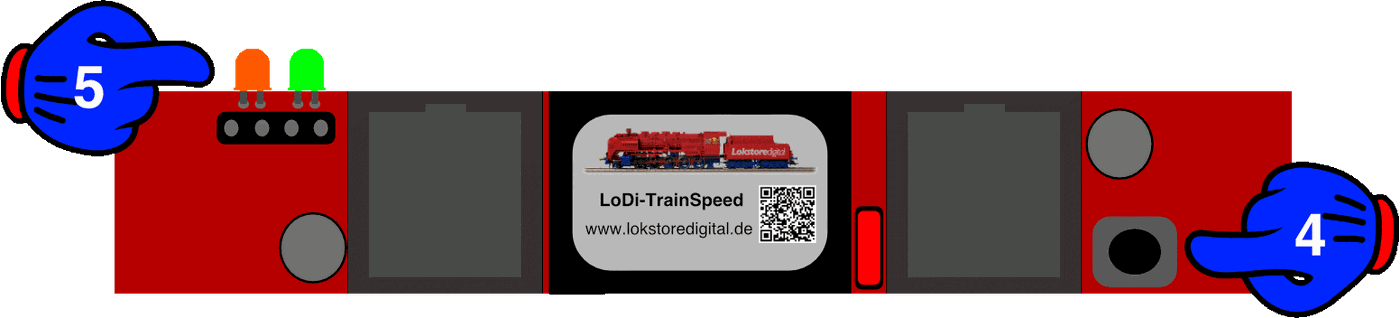
Now press button (4) on the LoDi-TrainSpeed for 3 seconds. The TrainSpeed now jumps into addressing mode. It signals this through the two LEDs (5), which flash alternately.
Now the "Anwenden" button (6) in the LoDi-ProgrammerFX can be pressed. The TrainSpeed stops flashing immediately and has its new address set from now on.
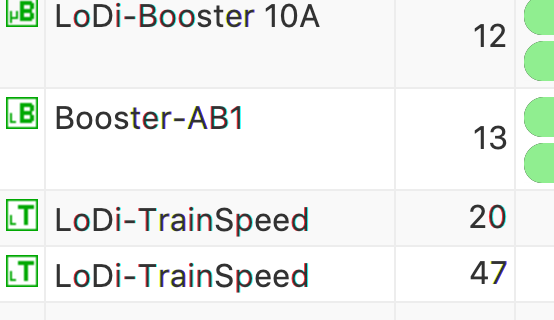
The LoDi-TrainSpeed has now saved the new address and is shown on the bus again straight away.
2. The LoDi-TrainSpeed's settings
The LoDi-TrainSpeed sends the raw data to the control software.
No further settings therefore have to be made on the LoDi-TrainSpeed.
Most software solutions such as iTrain and Win-Digipet set the scale and length measurement themselves, as the software happens to need them.
If you do want to measure a locomotive without starting third-party software, you can also make these settings in the LoDi-TrainSpeed under the LoDi-ProgrammerFX.
The parameters to be set are:
- Scale: here you have to set your scale
- Length: if this box is ticked, the TrainSpeed will measure the length of the vehicle or train as well.
- Tolerance: if this box is ticked, the TrainSpeed will treat deviations of more than 5% as uneven running and therefore as an invalid measurement.
Careful!
Changes made here can be changed back by the control software.
That applies to the scale, the length and the tolerance measurement.
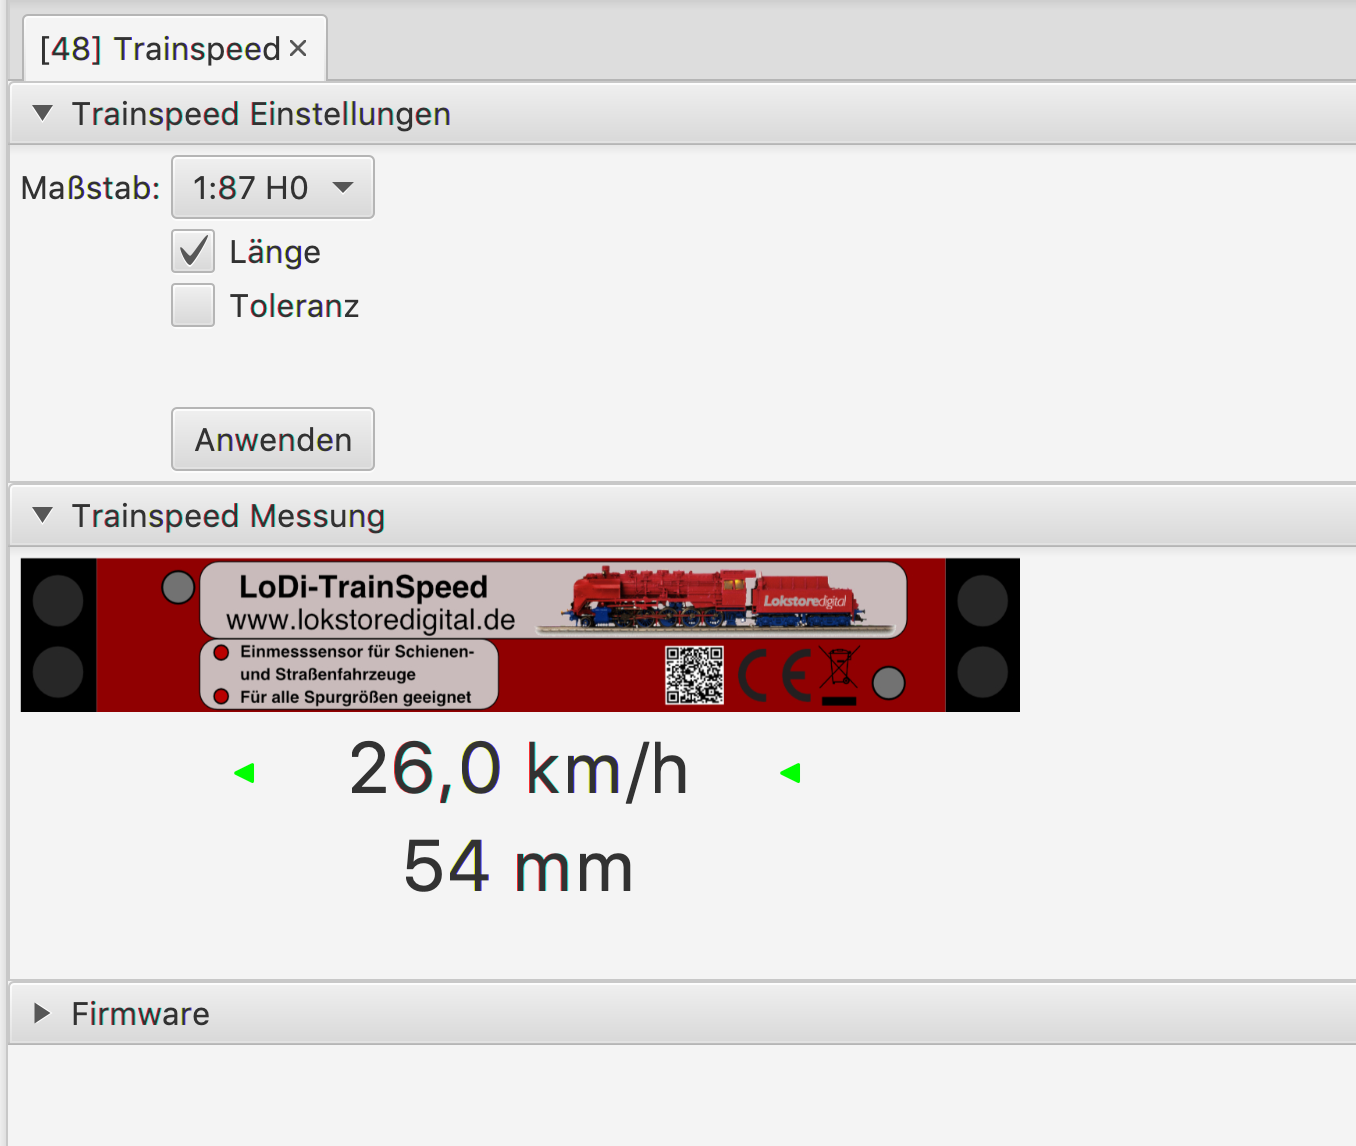
3. The measuring dialogue in the LoDi-ProgrammerFX
In essence, as mentioned in point 2 above, the LoDi-TrainSpeed is set from the model railway software. The LoDi-ProgrammerFX does not necessarily have to be active later either. For quickly measuring a locomotive and its speed after all, we have built a dedicated measuring dialogue into the LoDi-ProgrammerFX.
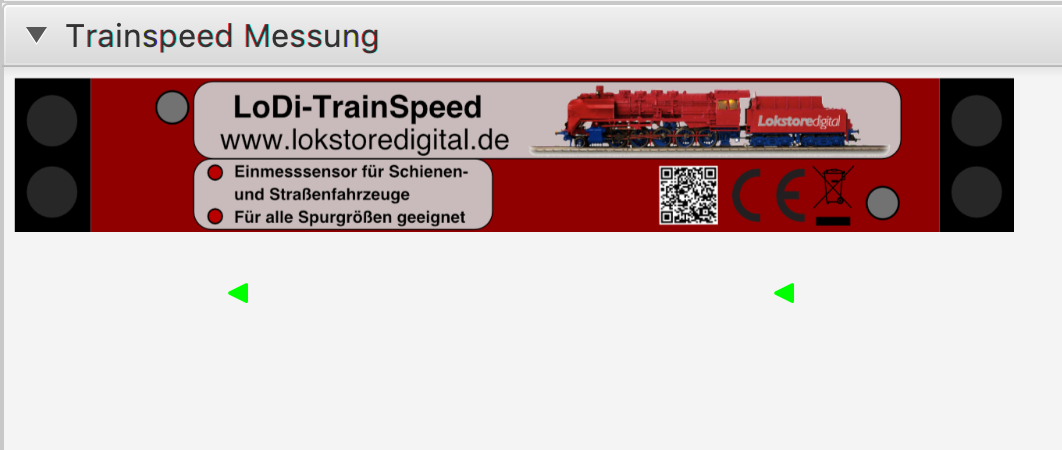
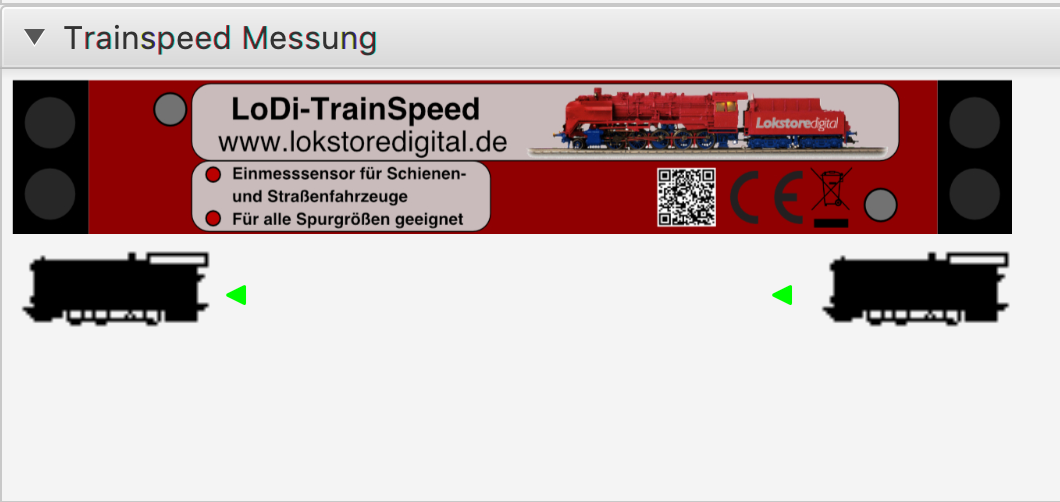
This window now shows the LoDi-TrainSpeed as active and ready to measure.
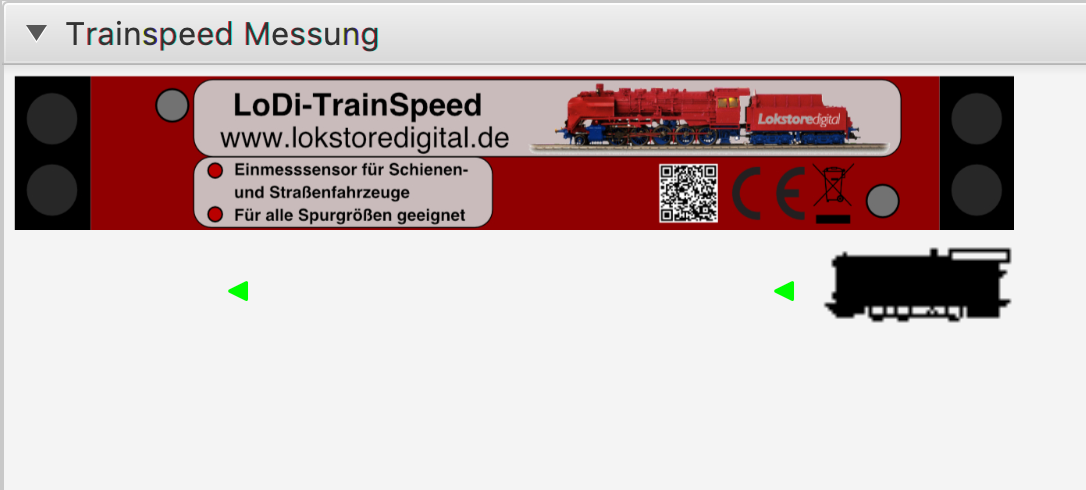
When a locomotive runs into the sensor, the LoDi-ProgrammerFX shows which direction the locomotive is passing the sensor from.
The red LED on the
LoDi-TrainSpeed now flashes as well, signalling an active measurement.
As soon as the locomotive reaches the second sensor, the LoDi-ProgrammerFX shows that immediately as well.
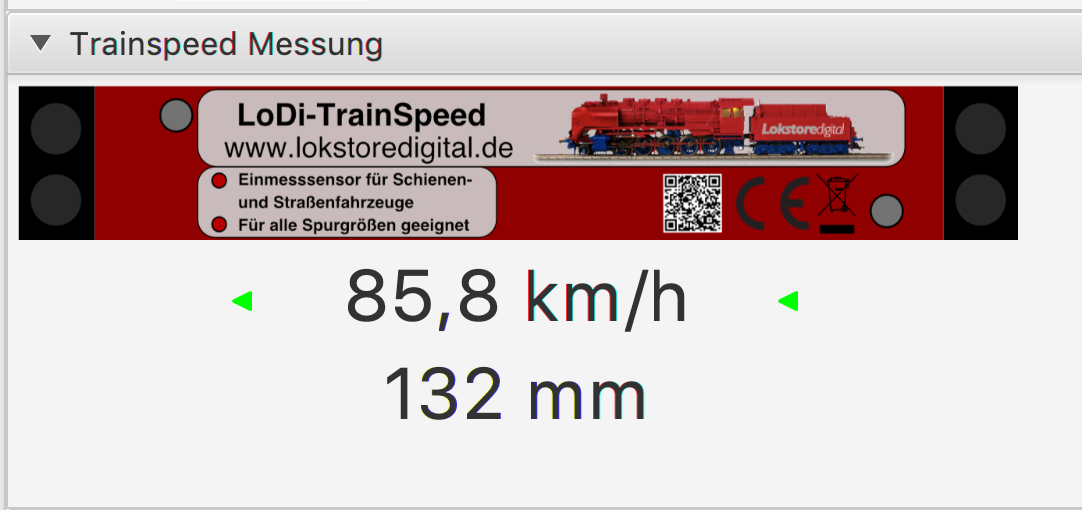
Once the measurement is successful, the LoDi-TrainSpeed will show the speed and the length (if enabled) as well.
4. Updating the LoDi-TrainSpeed's firmware
Just like the LoDi-Booster, the LoDi-TrainSpeed as a LoDi bus component can be updated.
To check the firmware version, go to the TrainSpeed in the LoDi-ProgrammerFX and navigate down to the Firmware tab. From LoDi-ProgrammerFX version 2202 onwards, it is shown there automatically if new firmware is available.
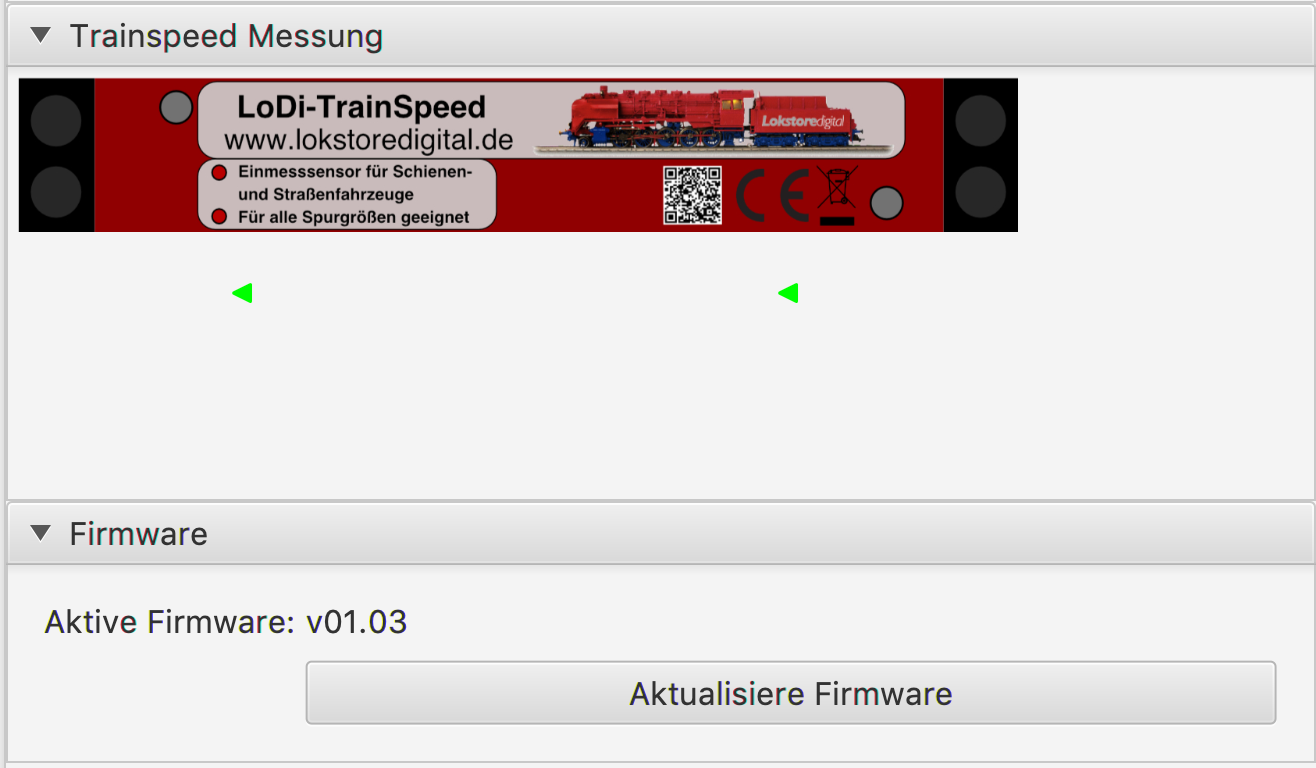
To install the update onto the LoDi-TrainSpeed, however, it first has to be put into bootloader mode. To do that, first pull the network plug out of the LoDi-TrainSpeed.
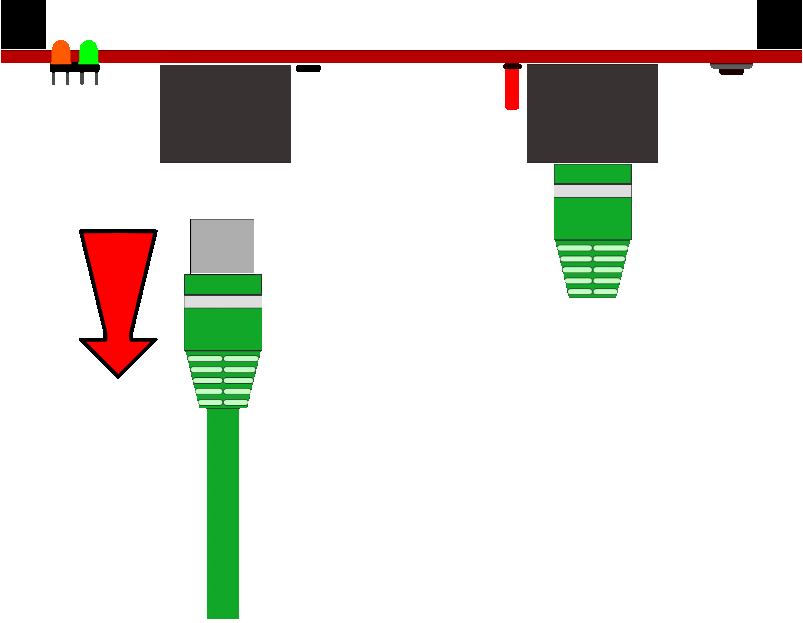
Now you have to hold button (1) on the LoDi-TrainSpeed down and plug cable (2) back in.
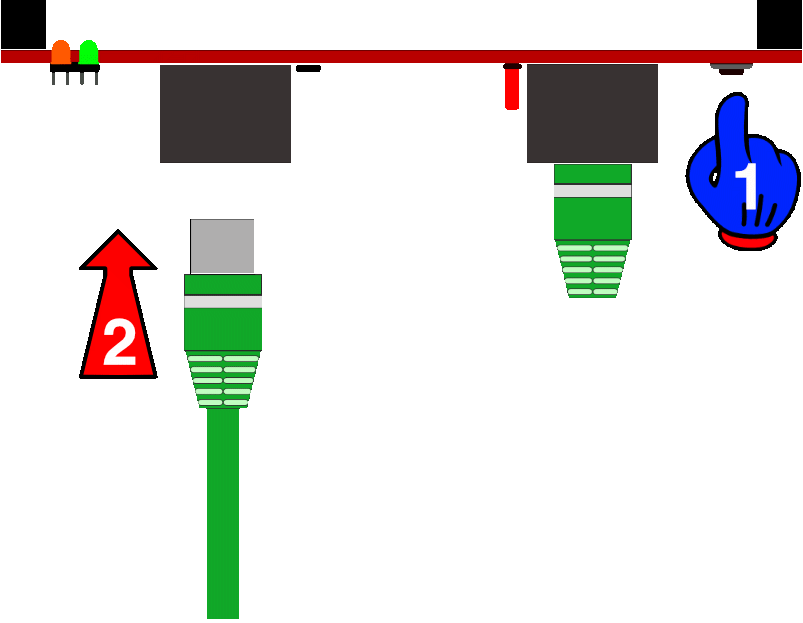
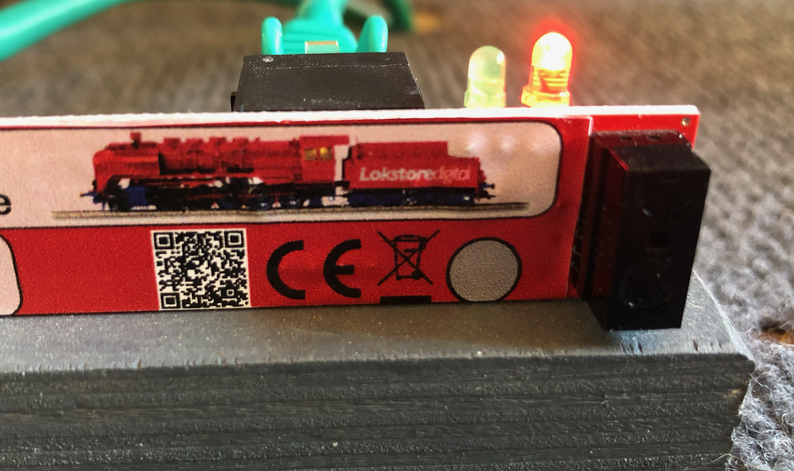
The TrainSpeed is now in the bootloader menu and can now have the new firmware flashed to it.
Now navigate to the TrainSpeed in the LoDi-ProgrammerFX.
It is now found by the LoDi-ProgrammerFX in bootloader mode.
If the TrainSpeed shown in the bootloader does not appear in the LoDi bus overview, try the same procedure without any other bus participants, unhooking them from the bus so that only the TrainSpeed is still connected to the LoDi-Rektor.
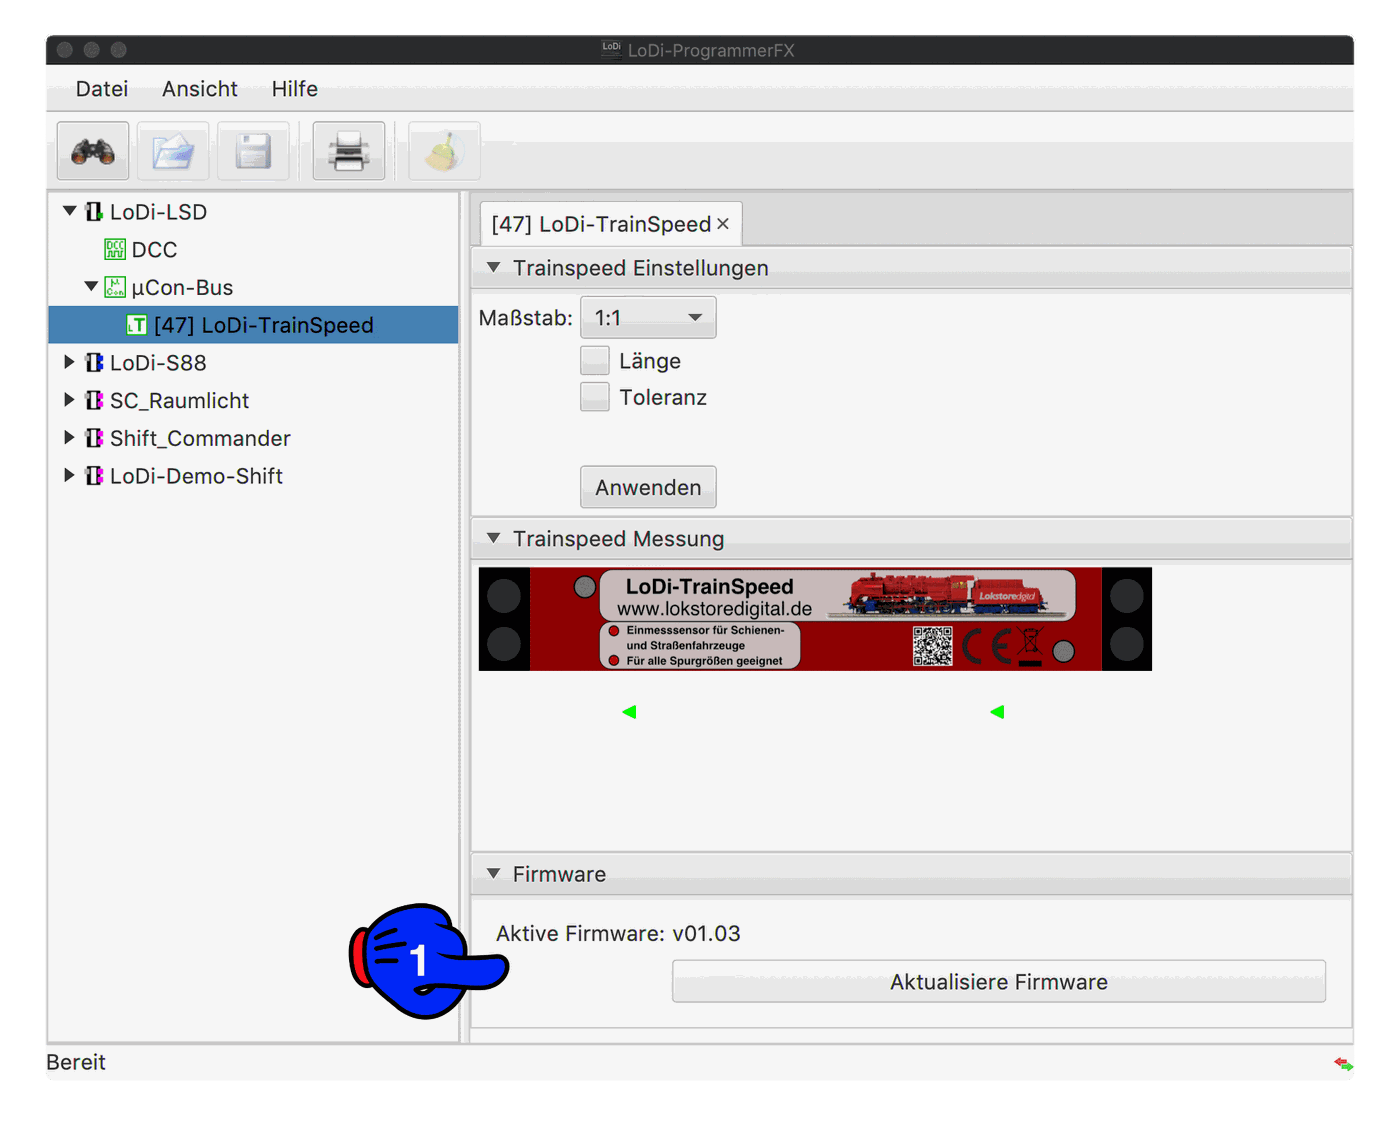
Now press the "Aktualisiere Firmware" or "Update installieren" button

After opening it, the query window appears straight away, in which the current firmware is compared with the firmware to be loaded.
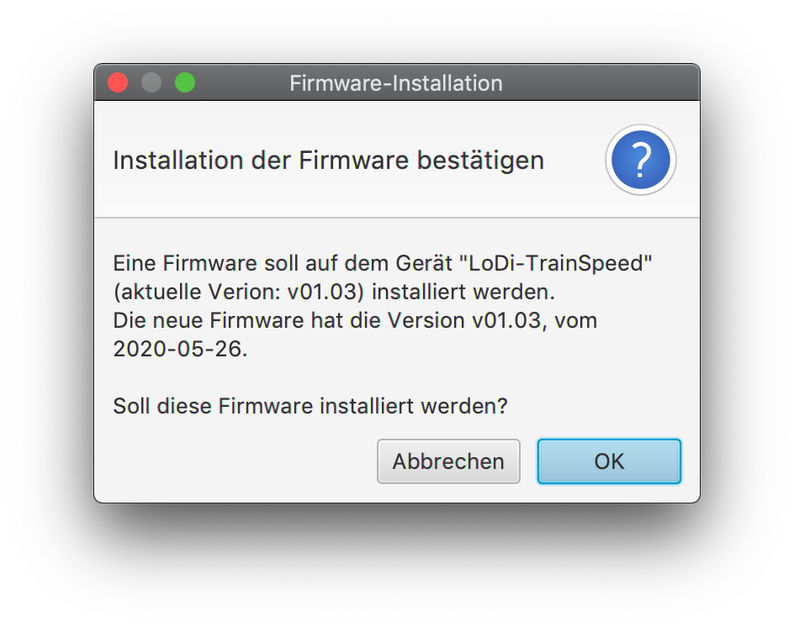
Now you still have to confirm the update.
After pressing the OK button, a progress bar now runs at the bottom right of the LoDi-ProgrammerFX.

The LoDi-TrainSpeed reboots once after the update and then reports back on the LoDi bus as usual straight away. A quick check shows that the current firmware is now installed.
5. Connecting and setting up the LoDi-TrainSpeed
Click here to reach the LoDi-TrainSpeed hardware description.

Any questions still open?
Would you simply like to ask us in person?
Or go to our forum, where experienced users are glad to help you further.