
Software
macOS
Here we describe in a few short steps how to install, update and start the LoDi-ProgrammerFX on your Mac.
From version 2026.04 onwards we ship a Java runtime with the Mac version.
1. Download and installation
First install the latest version of Java, then click the "Download LoDi-Start.dmg" button to download the current version of the installer.
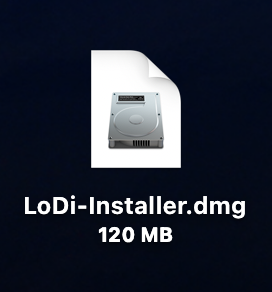

After the download, open the file LoDi-Start.dmg; the DMG opens.

Now simply drag the LoDi-Start.app into your Applications folder, as shown by the arrow.
2. Starting and updating
You can now start LoDi-Start.app from Launchpad or Spotlight, or drag the icon into the Dock.
When you select and click the LoDi-Start icon, the update program starts. On every start it checks whether a new version of the Programmer or new firmware for one or more components of the LoDi system is available, and downloads it automatically.
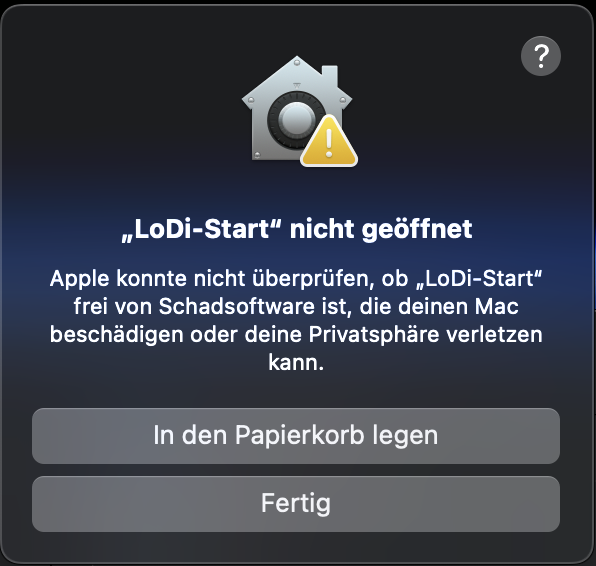
On macOS Sequoia 15.x and newer, the "LoDi-Start" app has to be allowed under "Privacy & Security".
After the first start, please go to System Settings and scroll to Privacy & Security. There you will now find an entry: "LoDi-Start was blocked to protect your Mac." Behind it there is an "Open Anyway" button. After pressing Open Anyway, LoDi-Start can be opened.
The LoDi-ProgrammerFX itself is then loaded from our server and started.
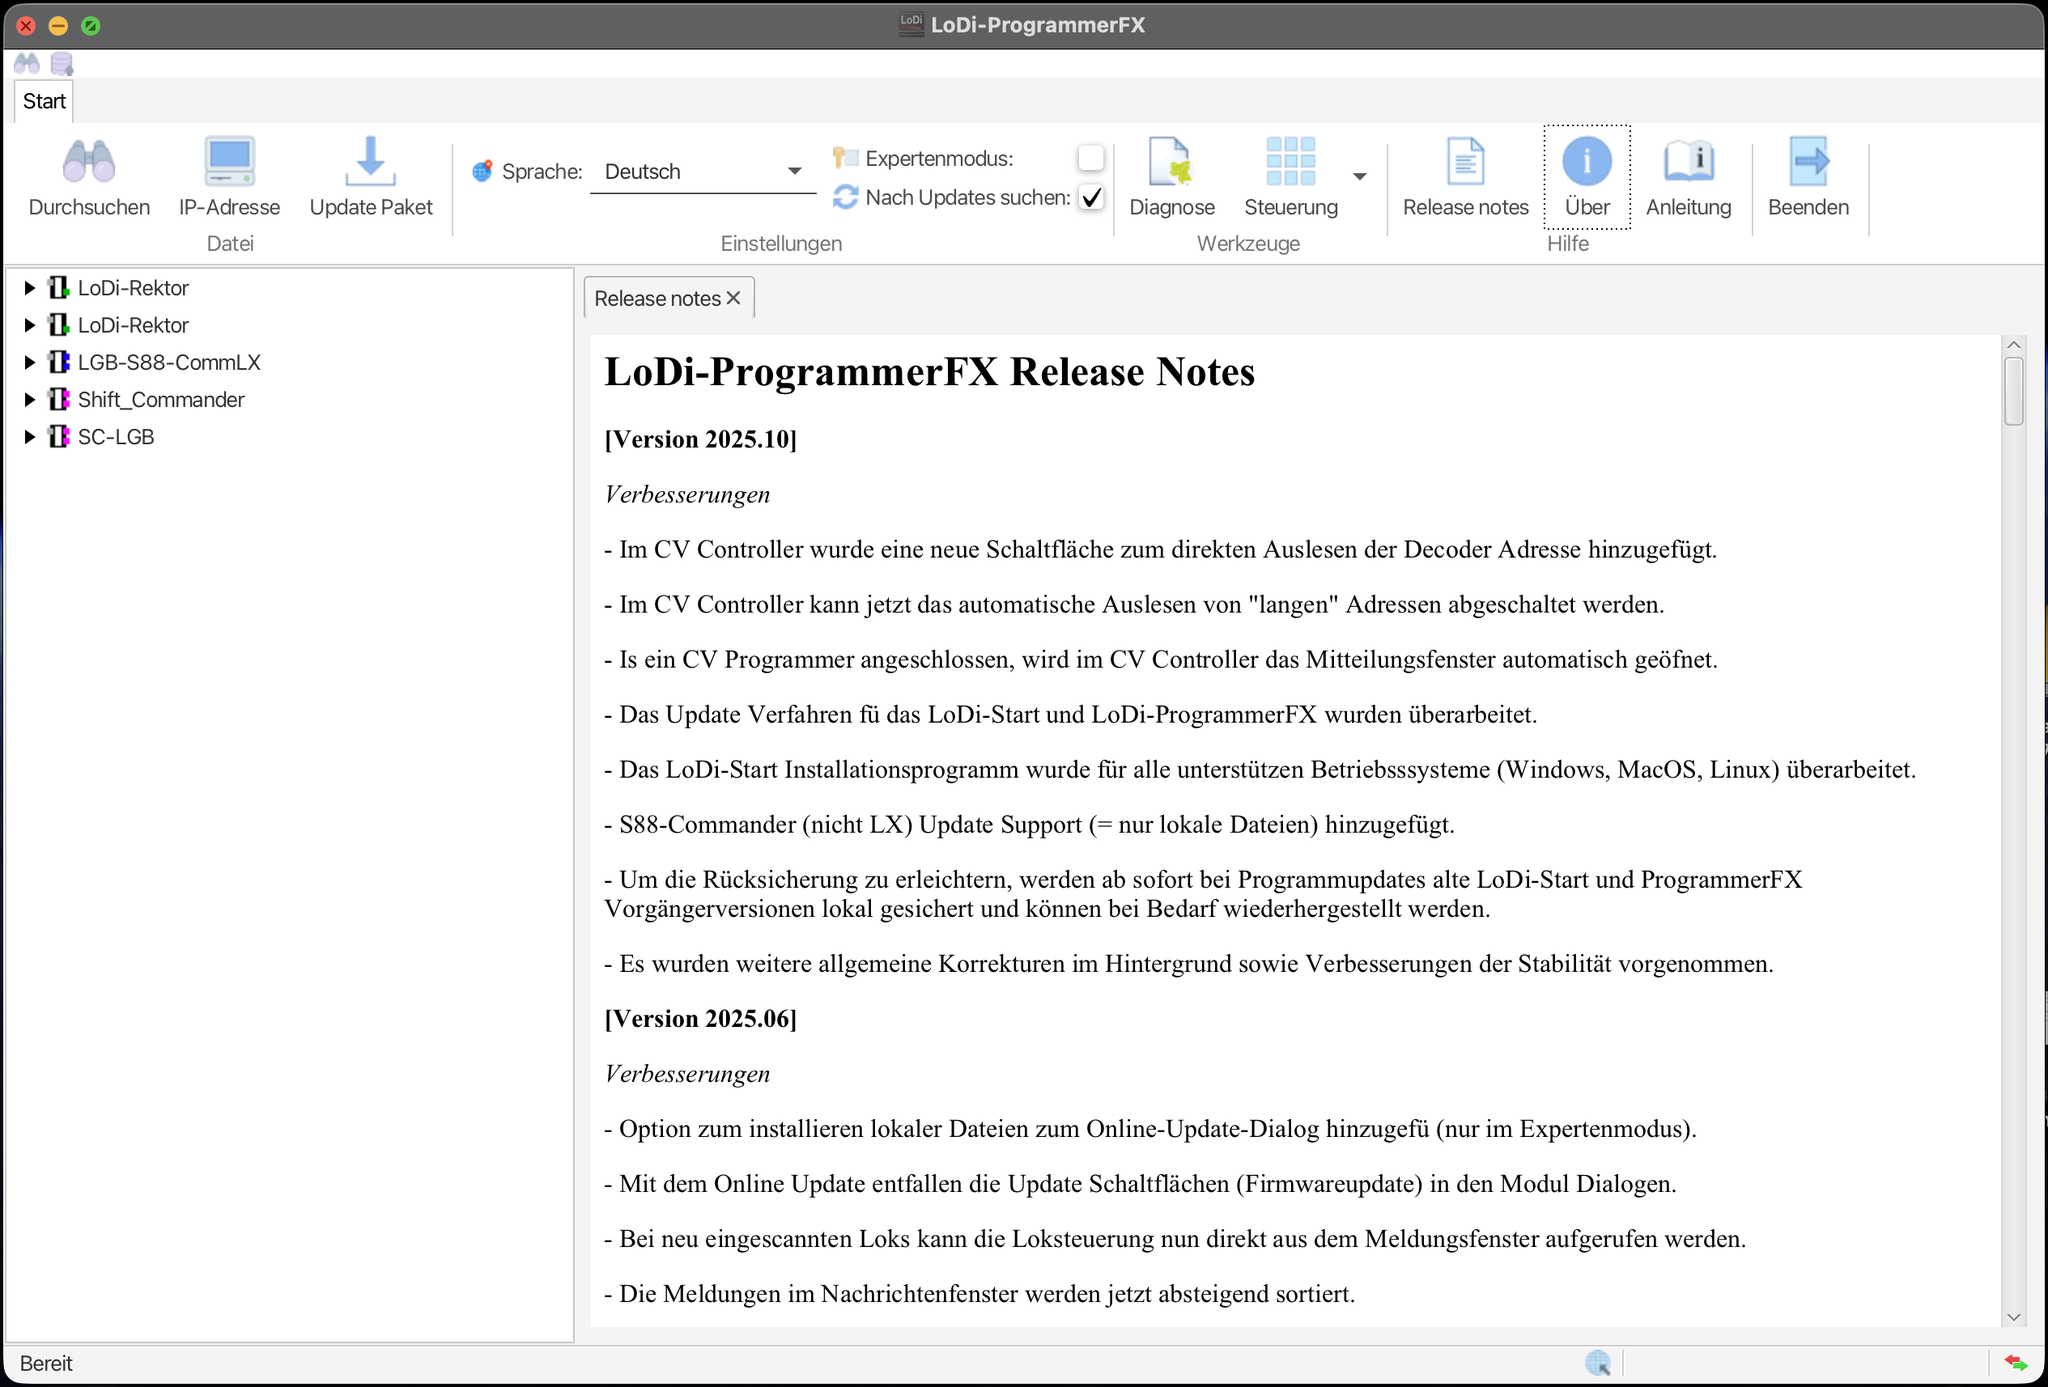
You can have the release notes shown to you directly in the LoDi-ProgrammerFX.
After that you still have to allow network access, and the LoDi-ProgrammerFX is ready to use.

3. Offline updates
In progress…


Would you like to see the quality of the devices for yourself?
Get in touch with us HERE!
Visit our forum, where experienced users are happy to help you.