
Software
LoDi-RM-16+ v2
Setting up in the LoDi-ProgrammerFX
The LoDi-RM-16+ v2 is a three-rail occupancy detector which can however also be used for reed contacts, Hall sensors or as button actions. The module and each of the 16 channels can be given a name of up to 16 characters.
Since the LoDi-RM-16+ (v2) has its own S88.2 address, it can be moved around the S88.2 bus without the addressing changing.
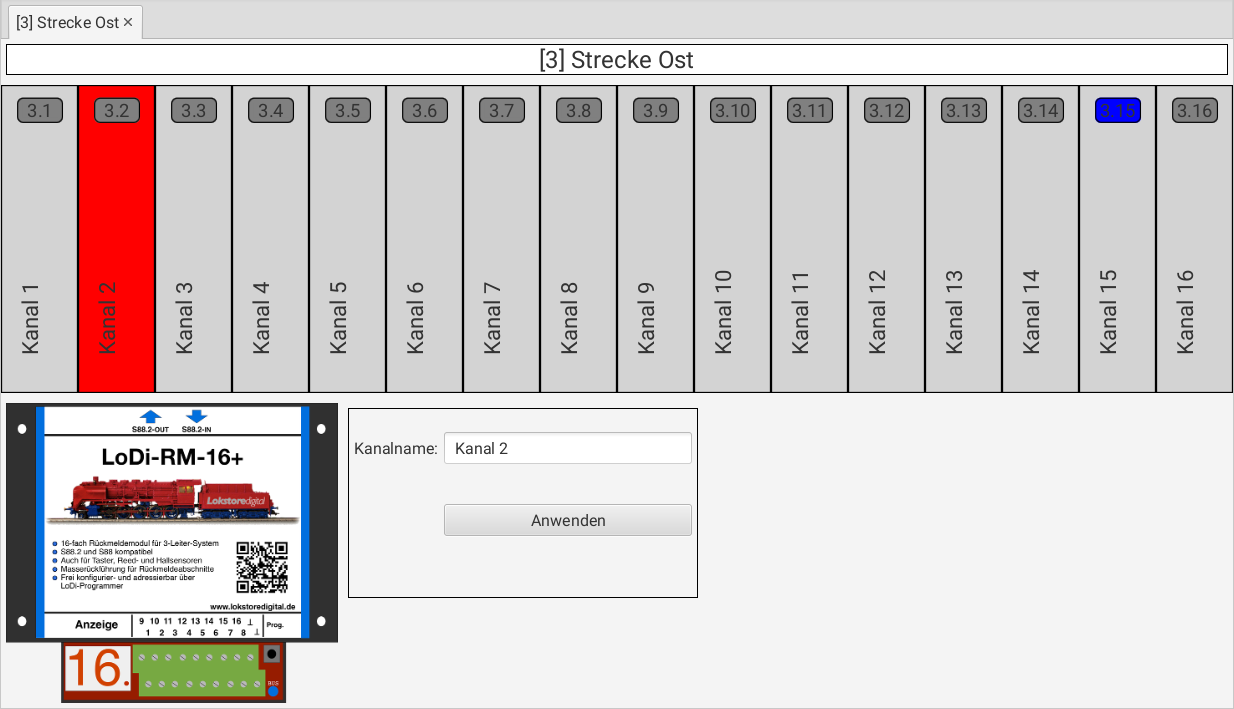
The LoDi-RM-16+ (v2) dialogue consists of the following parts:
- the schematic view of the module with all its channels (top)
- the settings for the module or the channel (bottom)
1. Assigning an address
On the S88.2 bus, the feedback and track occupancy detectors have to be addressed.
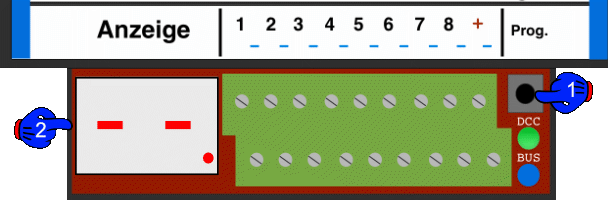
To do that, first press the Prog. button (1) on the feedback module briefly.
The display (2) then flashes. If you now see two dashes flashing in the display, no address has been programmed into the module yet. Otherwise the address already stored in the module flashes.
The module leaves programming mode again after 60 seconds.
The LoDi-Programmer shows as soon as a module is in programming mode.
The module with an active Prog. button is now red. If the module does not have an address yet, that is shown as well.
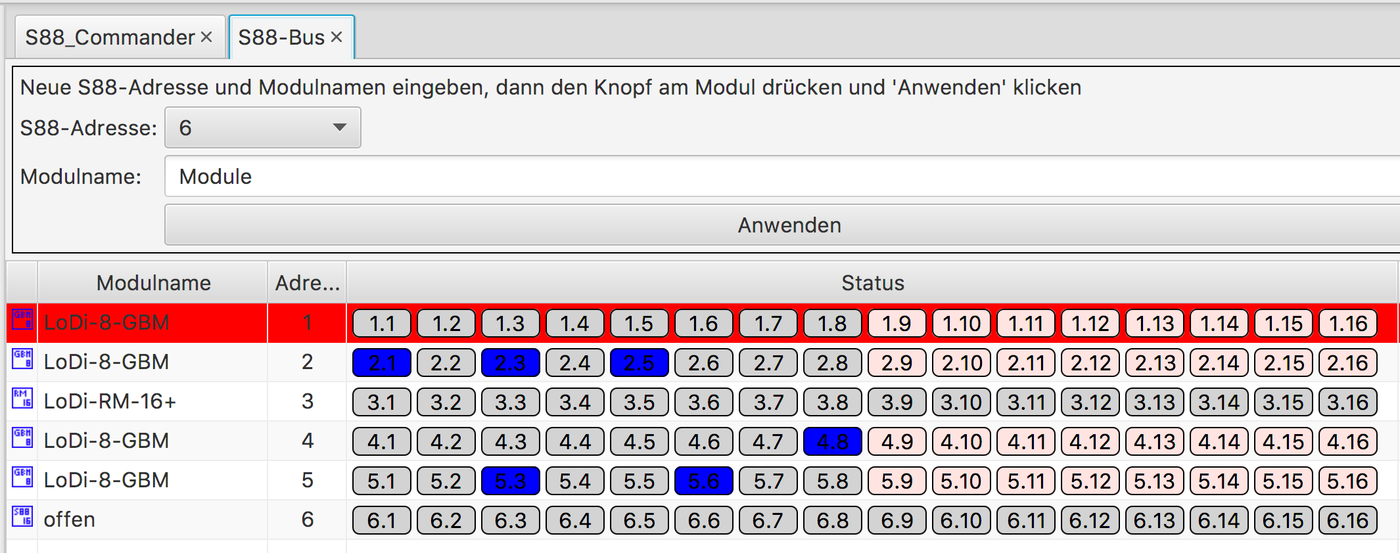
Now select an address, give the module a name of its own — such as Hauptbahnhof, or whatever the module is installed for — and then press Anwenden.
The module has now left programming mode and saved the address.
2. The module overview and settings in the LoDi-ProgrammerFX
In the module view, the 16 channels of the LoDi-RM-16+ (v2) are shown side by side from left to right. Channel 1 is on the left and channel 16 on the right.
Each channel consists of the S88 addressing shown at the top and the channel name shown below it.
The channel occupancy message is shown by colour in the S88 addressing field. Grey means unoccupied, blue means occupied.
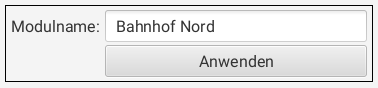
The module settings are activated by clicking the module name above the module view.
The module's name can be changed here.
The module name can be up to 16 characters long. It is saved on the LoDi-RM-16+ (v2) by clicking the "Anwenden" button.
The module name can also be changed in the device tree.
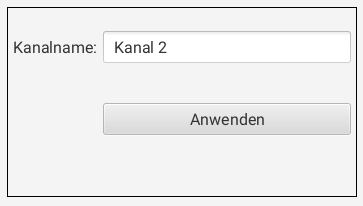
The channel settings are called up by clicking a channel. The selected channel is highlighted in red.
The channel name can be changed. It may be 16 characters long.
The setting is saved on the LoDi-RM-16+ (v2) by clicking the "Anwenden" button.
3. Firmware update
All S88.2-capable modules connected to the LoDi-S88-Commander (LX) can be updated directly over the bus. The update procedure is identical to that for the LoDi interfaces. (All LoDi feedback modules from 2021 onwards.)
In the LoDi-ProgrammerFX's S88 bus overview, the module's firmware version is shown on the right-hand side. If no number appears here, the module cannot be updated; that affects modules from before 2020.
The firmware can however also be queried directly in the module view.
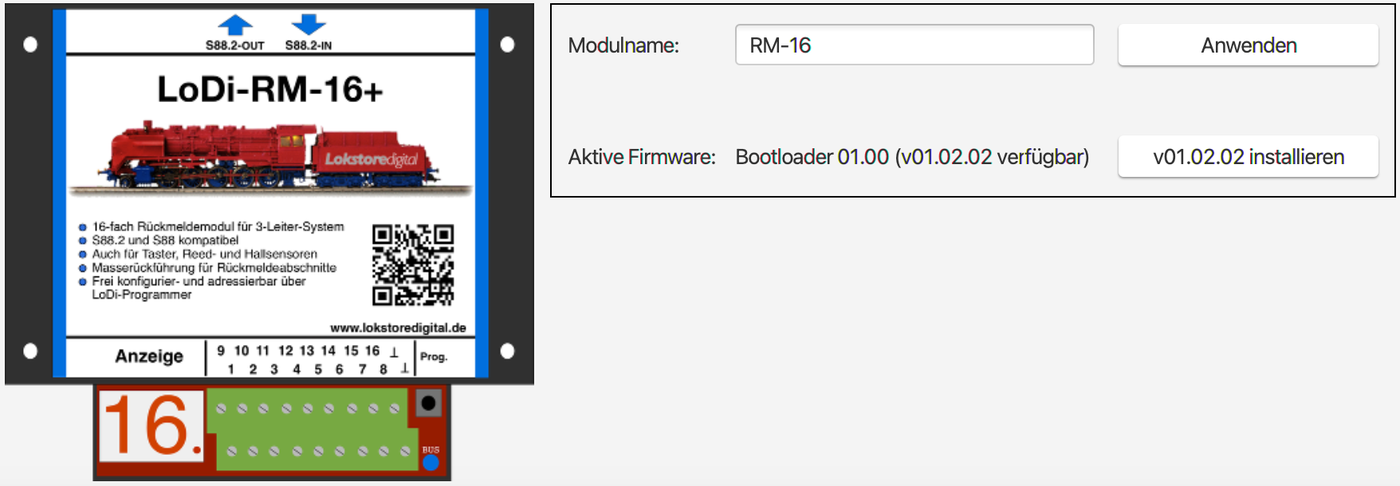
On the module shown here, an update is now indicated. Clicking the right-hand button starts a further query which you now have to confirm.
Once the update is confirmed, the module is put into the bootloader and the update is transferred. At the bottom of the LoDi-ProgrammerFX's footer you see a transfer bar. The module's display also shows the packets received; a number counts up. Once the LoDi-ProgrammerFX has transferred the update, the module is restarted and is now online with the new version.
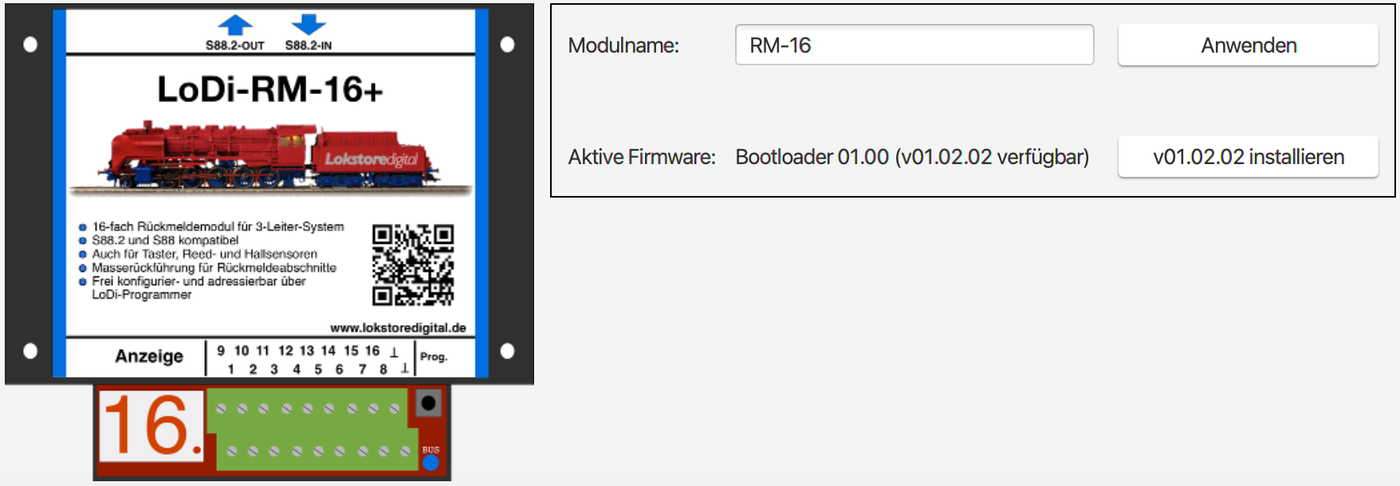
Should the update go wrong...
Do not worry: the module can always be put back into the bootloader state and flashed again. If an update has failed, you can repeat it straight away; the module has to be in bootloader mode for that.
The module shows you "B0" for bootloader in the two-digit display.
The LoDi-ProgrammerFX also has to detect the module in the bootloader. That is then visible in the LoDi-ProgrammerFX as well.
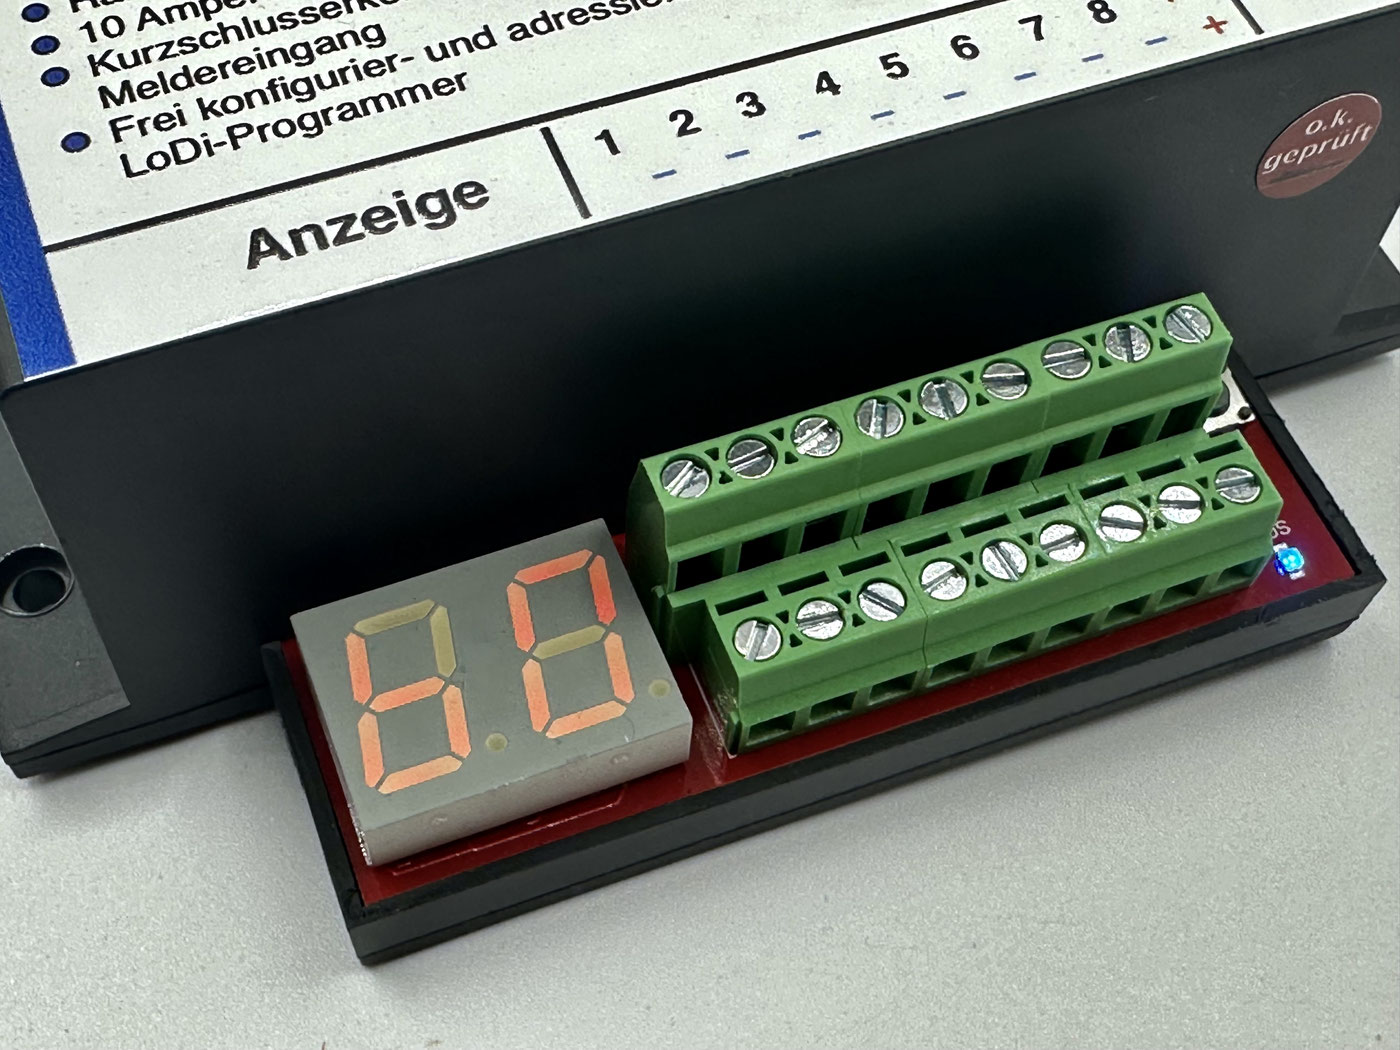
The module can also be put into bootloader mode by hand, though. Proceed as follows:
- Disconnect the patch cable to the LoDi-S88-Commander (LX).
- At the front right of the LoDi-RM16+ there is the Prog. button (1), which is also used to assign the module's address.
- Hold this button down and plug the cable back in. You can let go of the button again straight after plugging in.
The display should now show B0. From there the module can be shown in the LoDi-ProgrammerFX again and, if an address is assigned, current firmware can be installed.
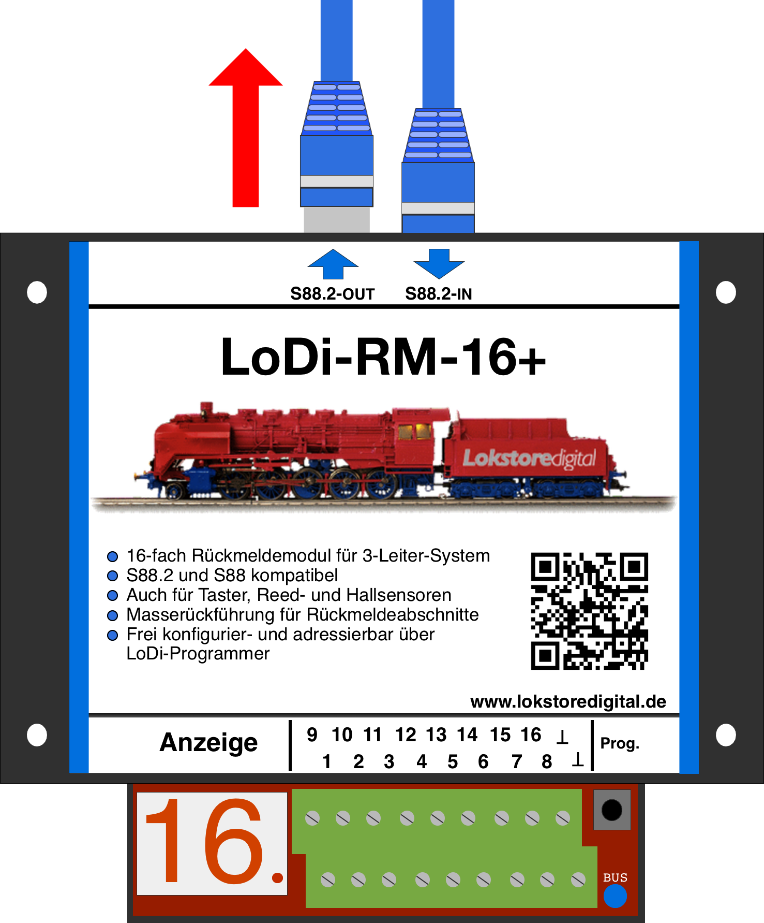
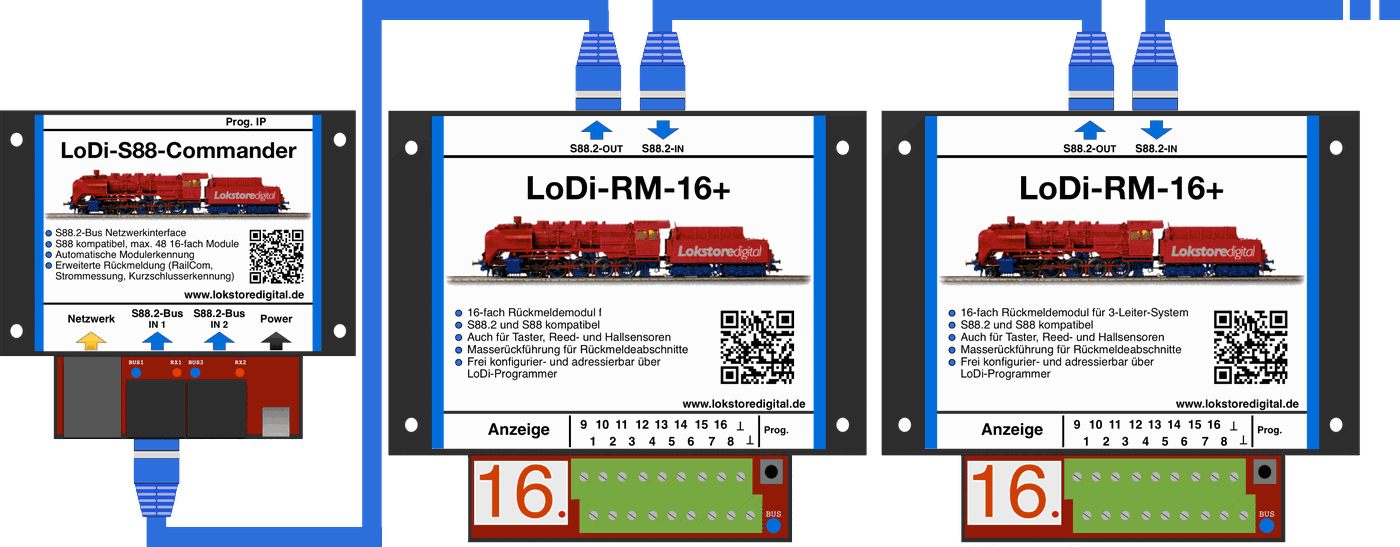
4. Connecting and setting up the LoDi-RM-16+ v2
Click here to reach the LoDi-RM-16+ v2 hardware description.

Any questions still open?
Would you simply like to ask us in person?
Or go to our forum, where experienced users are glad to help you further.