
LoDi-Con manual
The LoDi-Con A
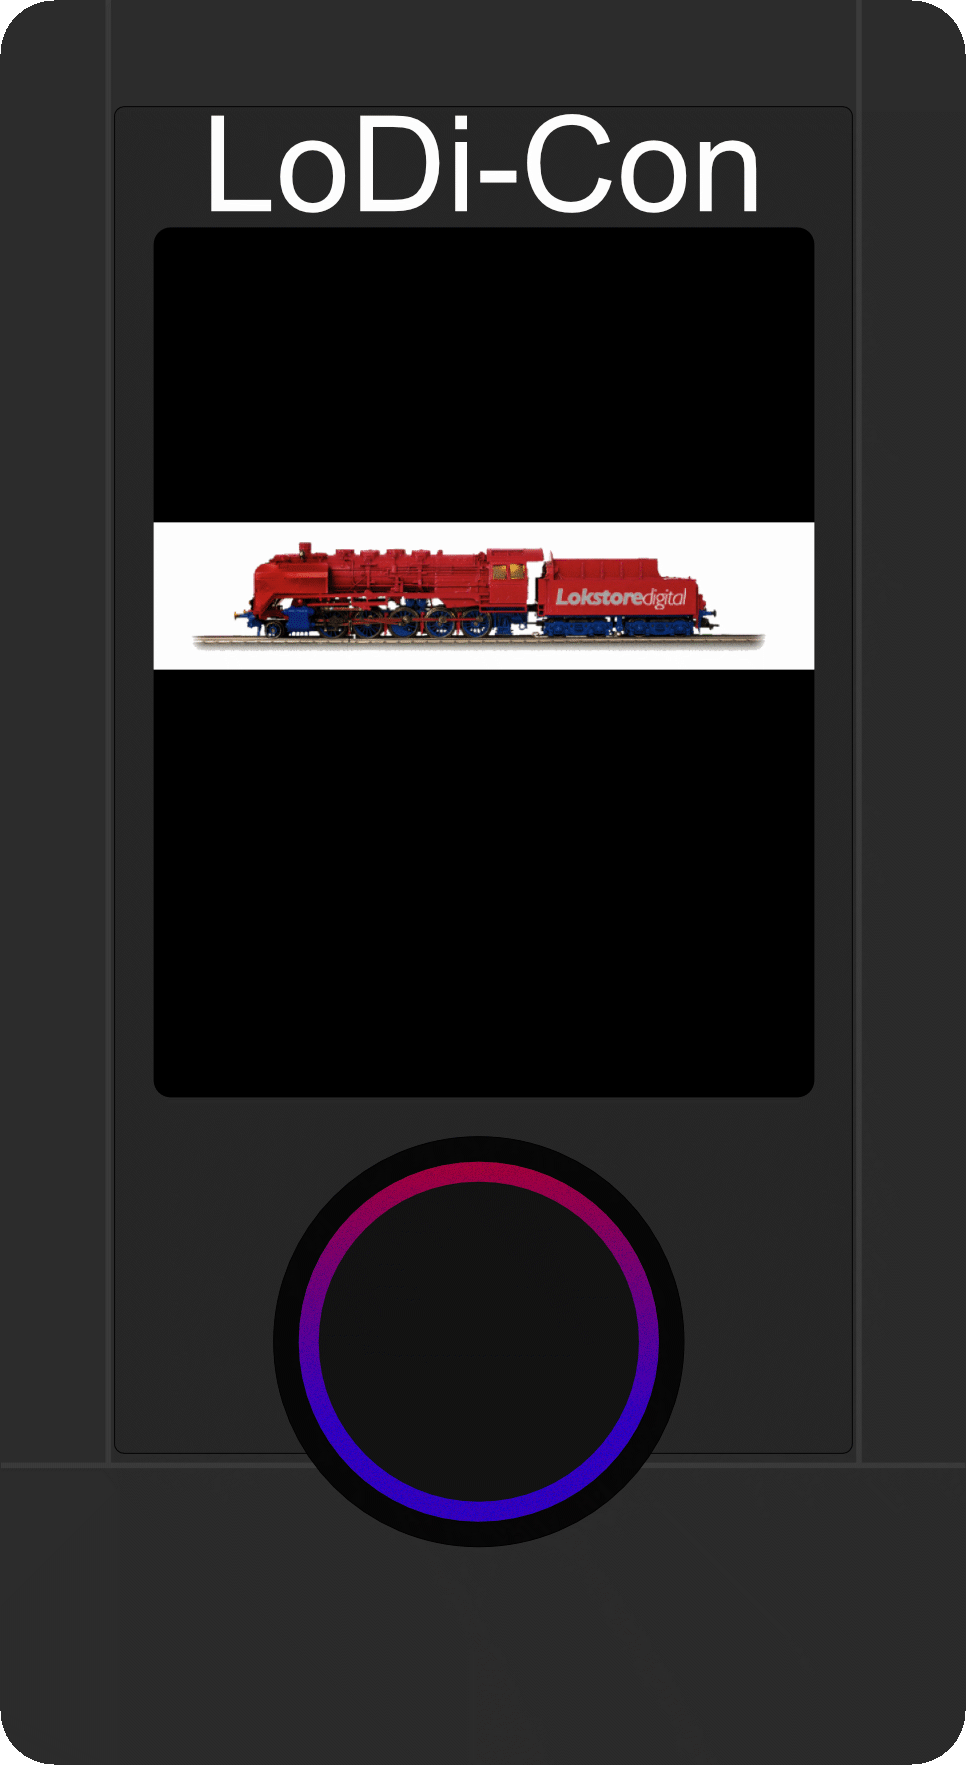
The LoDi-Con in the battery-pack variant.
The LoDi-Con in the battery-pack variant ships with the pack included.
1. The LoDi-Con A, its connections and LEDs
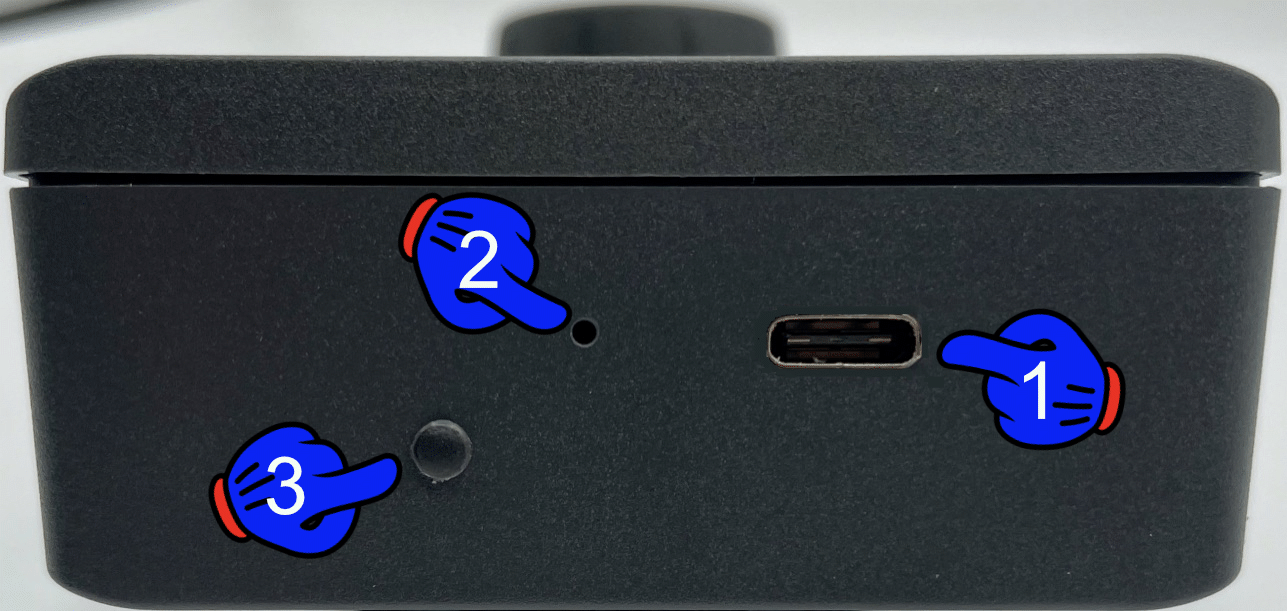
On the back of the LoDi-Con A you will find:
- USB-C connector = a 5-volt power source with a USB-C connector goes here. It supplies the LoDi-Con with power for the battery pack. The device can charge and be used at the same time. The maximum charging current is 1 amp.
- Reset button = should the LoDi-Con ever hang so badly that it stops responding, this button cuts the power to the CPU.
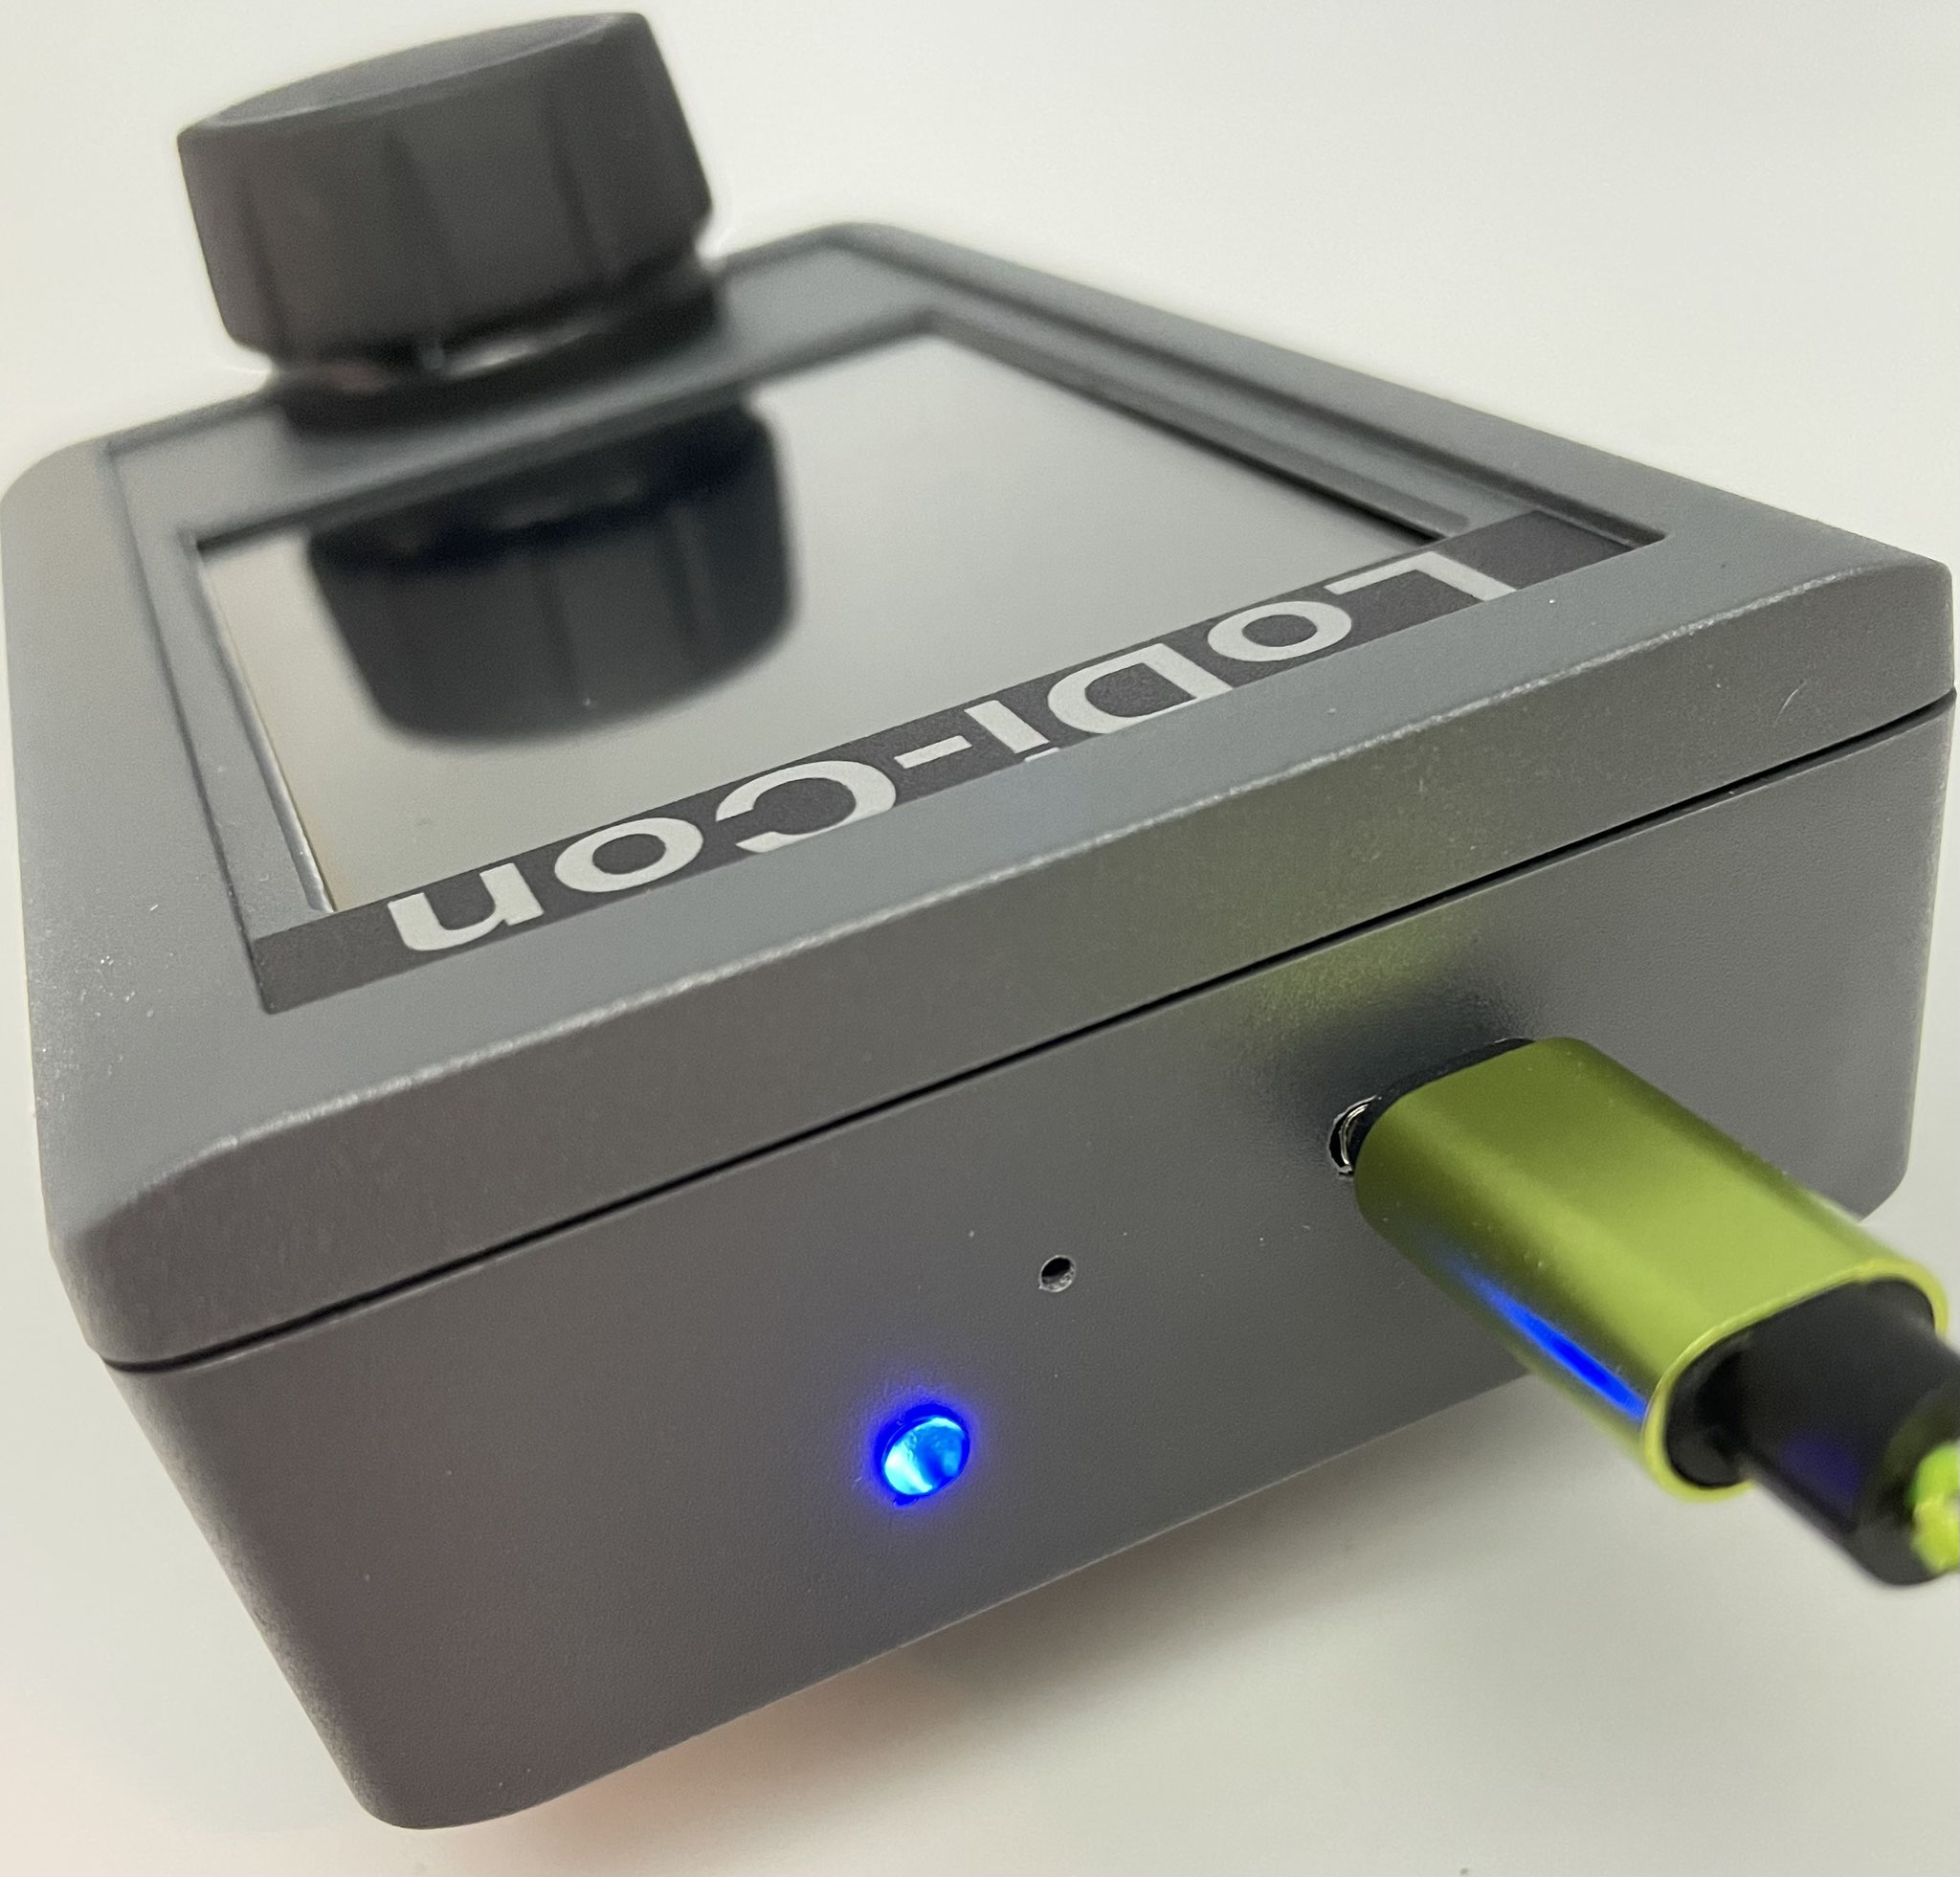
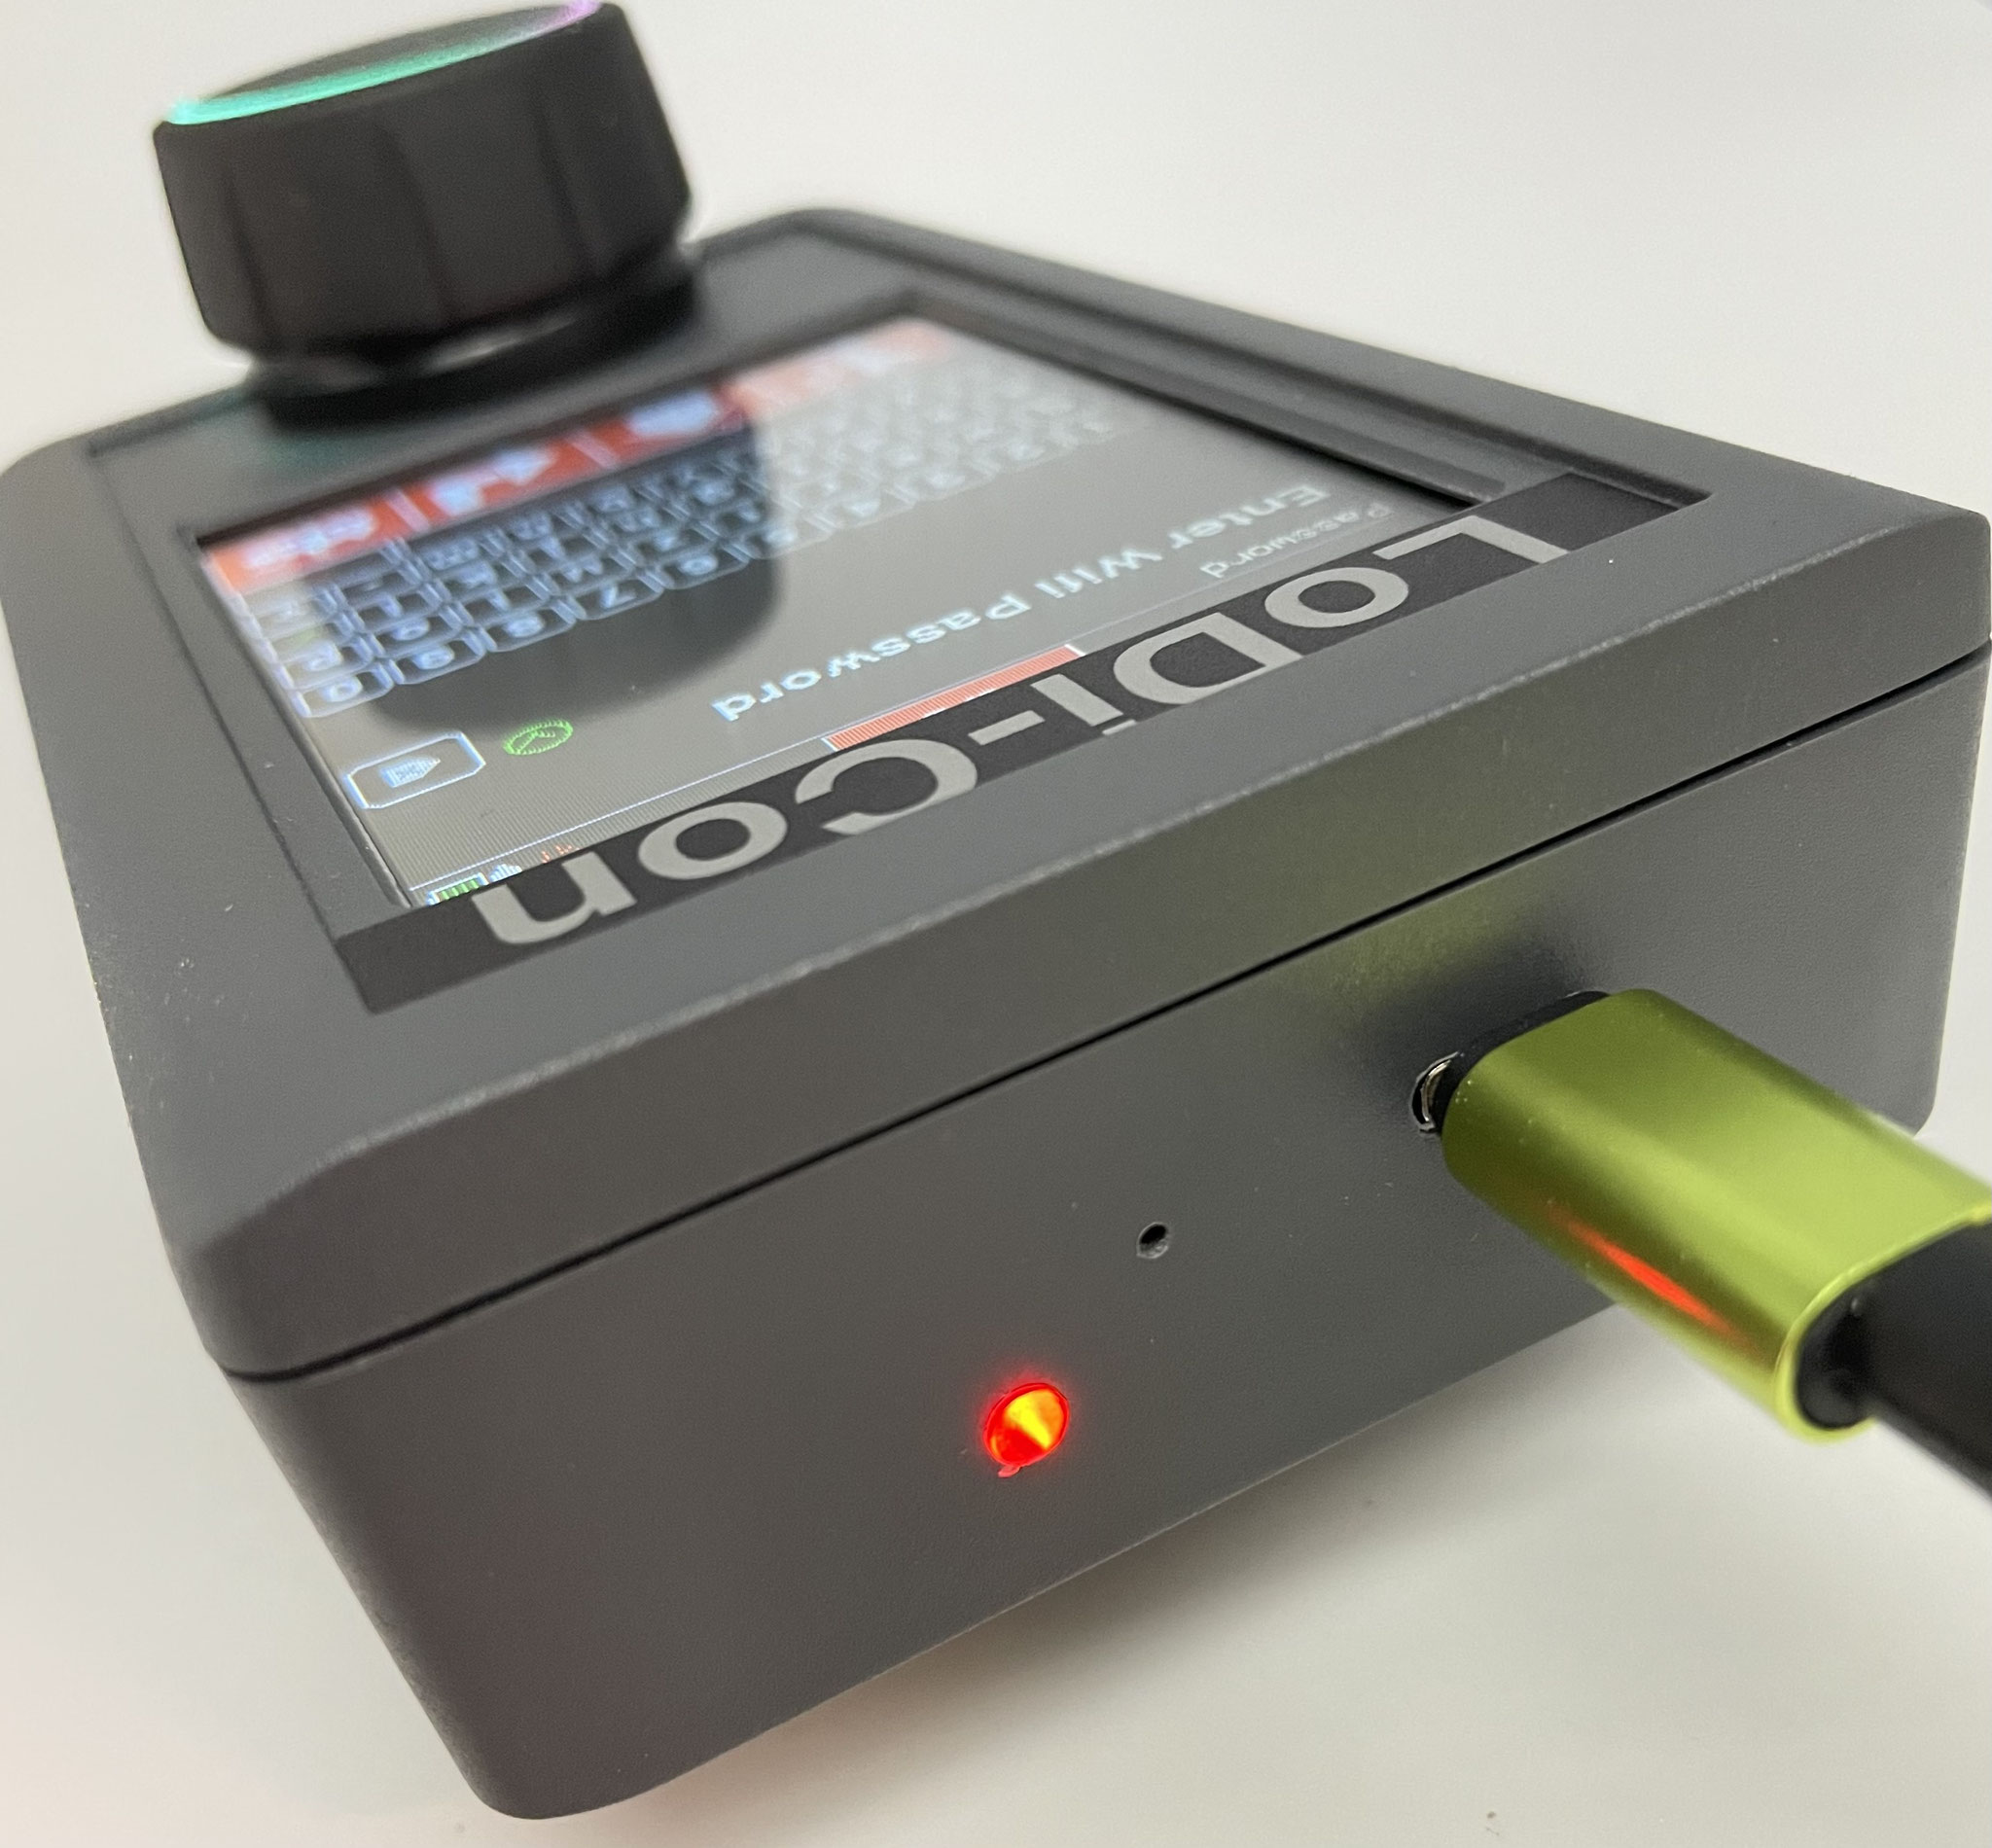
- Charge indicator LED = this LED shows the charge state: red = charging, blue = pack full.

When charged, the LoDi-Con A shows a blue LED.
As soon as a USB-C cable is plugged in, the LoDi-Con starts charging the pack, which is shown by a red LED.
2. About charging
The LoDi-Con has a charging mechanism that treats the battery pack well. Switched off, the LoDi-Con draws less than 0.05 mA. If you expect not to use the device for a while, charge it once more first.
If the device has been unused for a long time and the pack is completely flat, the LoDi-Con first has to be charged to a certain point. That can take up to an hour before it will start. After that the device is fully ready again and can be used normally.
3. Properties of the LoDi-Con A in LoDi-OS
In terms of software the LoDi-Con A and B are essentially identical; the LoDi-Con A only has one menu entry more:
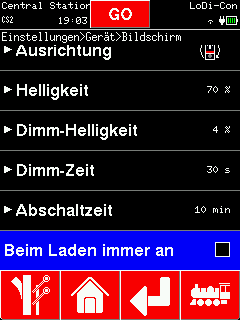
Go to Settings > Device > Screen, where you will find an option:
"Always on while charging"
Ticking this option stops the LoDi-Con A from going to sleep or switching off while a USB-C cable is in the charging socket supplying it with power.
Would you like to see the quality of the devices for yourself?
Get in touch with us HERE!
Visit our forum, where experienced users are happy to help you.
