
Software
Commissioning
Commissioning LoDi devices
We use "LoDi interface" as the umbrella term for our control units — devices such as the LoDi-Rektor, the LoDi-S88-Commander LX, the LoDi-Shift-Commander, the LoDi-DMX-Interface and the LoDi-WS28-Interface. They are delivered with a preset IP address. That address does not necessarily have to suit the home network it finds. Normally, though, the devices are found and shown by the LoDi-ProgrammerFX all the same.
The IP addresses as delivered are:
- LoDi-Rektor: 192.168.1.44
- LoDi-S88-Commander LX: 192.168.1.88 (DHCP-capable) (Wi-Fi-capable)
- LoDi-Shift-Commander: 192.168.1.92
- LoDi-DMX-Interface: 192.168.1.53 (DHCP-capable) (Wi-Fi-capable)
- LoDi-WS28-Interface: 192.168.1.98 (DHCP-capable) (Wi-Fi-capable)
Some LoDi interfaces are Wi-Fi-capable. How to connect the devices over Wi-Fi is shown further down under point 2: Commissioning a Wi-Fi-capable LoDi interface.
1. Commissioning a LoDi interface
If your home network is in the IP range 192.168.1.xxx, you can get straight to work and configure the devices. If, however, the devices are not shown at all or are shown highlighted in red, you are in a different network environment, and in that case you have to proceed as follows:
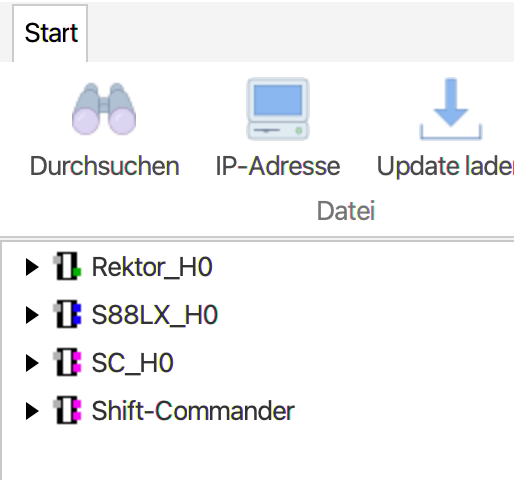
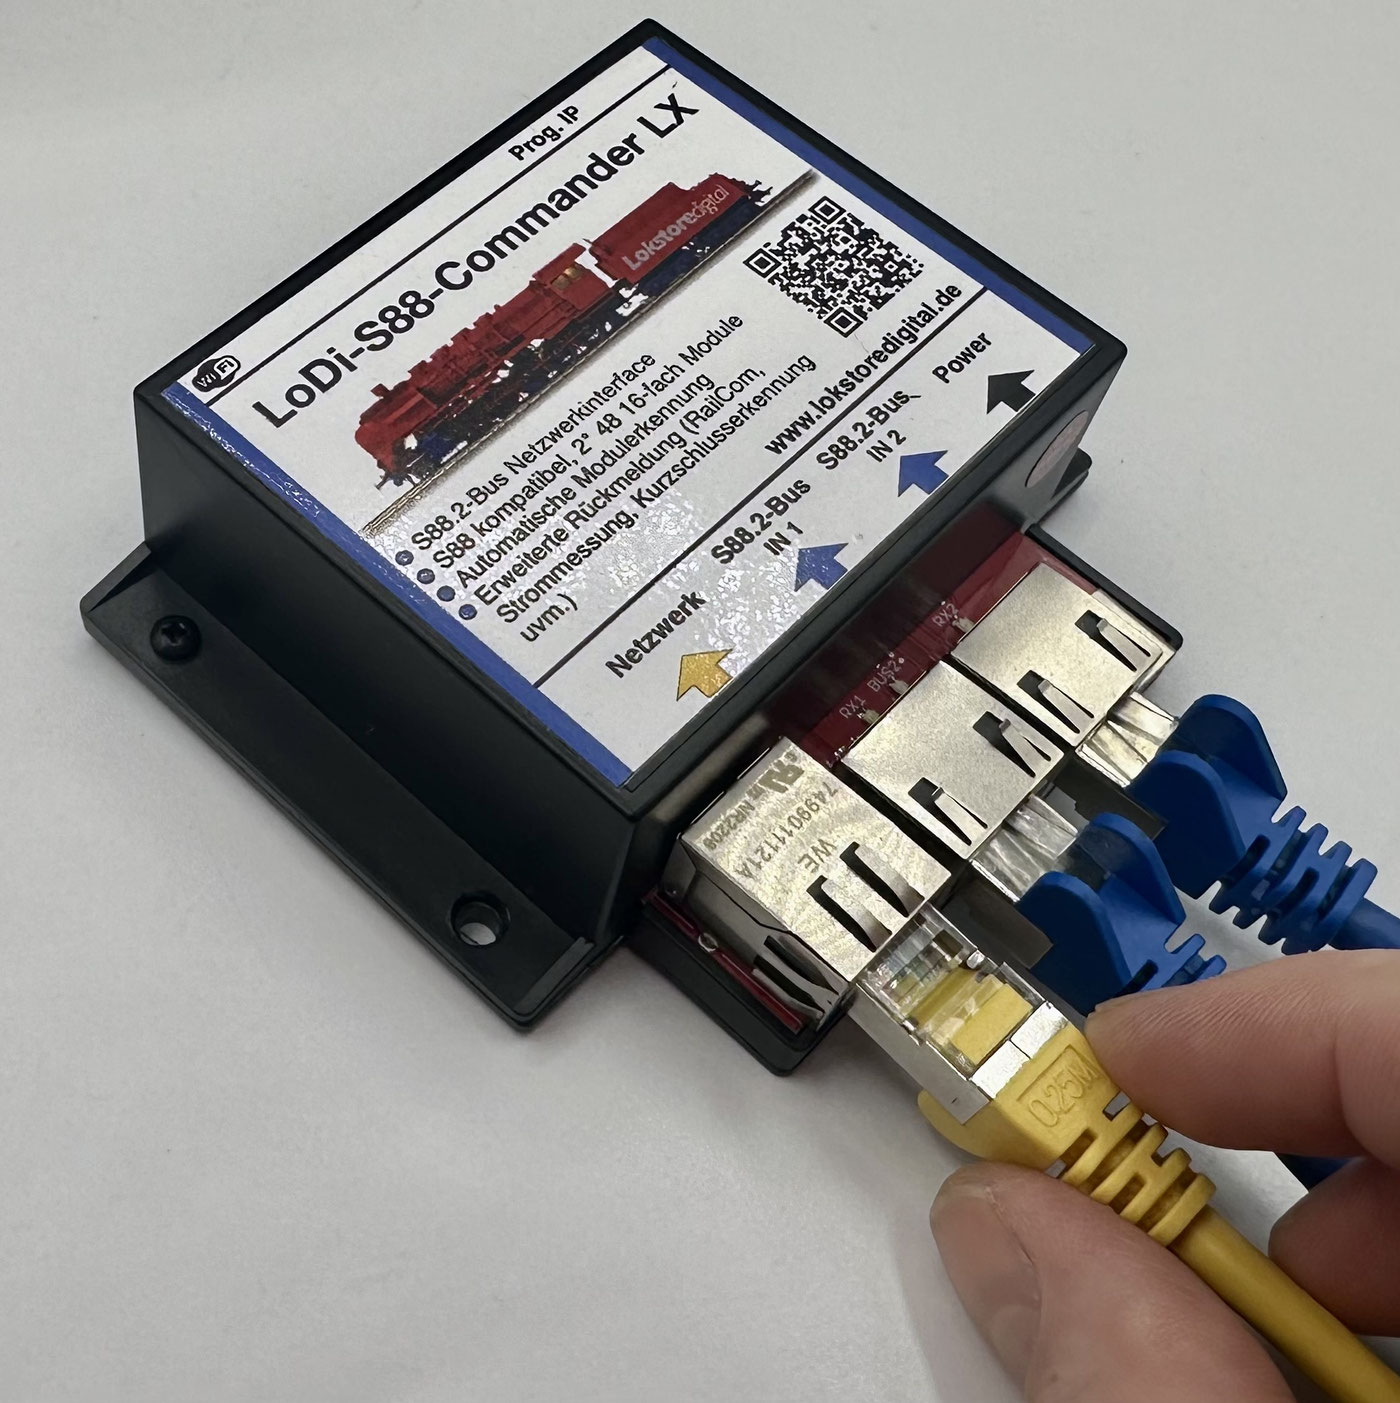
- Check whether the device is connected to the router or switch through the port labelled Netzwerk with a standard network cable.
- Check whether the device is supplied with power through the Power connection.
Both points are met when the green LED at the Netzwerk port glows steadily.
The yellow LED may flash occasionally.
If the device is still not found by the LoDi-ProgrammerFX, a new IP address has to be assigned. To do that, select the entry "IP-Adresse" in the menu and continue with the network settings.
In the network settings you can first select the network interface to which the devices are connected as well. Normally this address should start with 192.168.xxx.xxx.
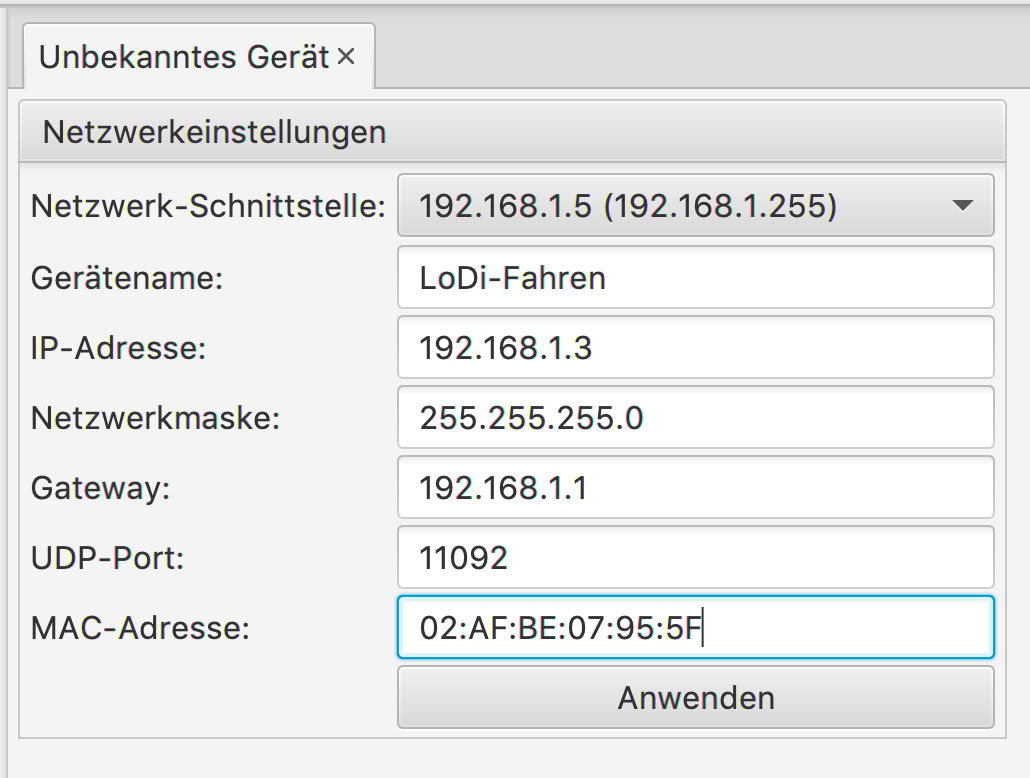
The following things have to be taken into account in the network settings:
- Device name: this may contain 16 characters. Umlauts, special characters (apart from "_") and spaces are not allowed
- IP address: this has to suit the network the device is in. On most networks the IP address starts with 192.168.1. The last digit can be chosen freely, but must not clash with any other IP address on the network. If in doubt, compare the settings on your router.
- Network mask: normally this setting does not have to be edited. If in doubt, compare the setting on your router.
- Gateway: the first three digits of the gateway address are usually identical to the first three digits of the IP address. The last digit is usually 1 or 254.
- UDP port: this setting should only be changed in exceptional cases, since the supported model railway software would otherwise be unable to address the device.
- MAC address: all devices on the network have to have a unique MAC address. If you own several control units of the same type, the MAC address on one device has to be adjusted. Normally it is enough simply to raise the last digit by 1.
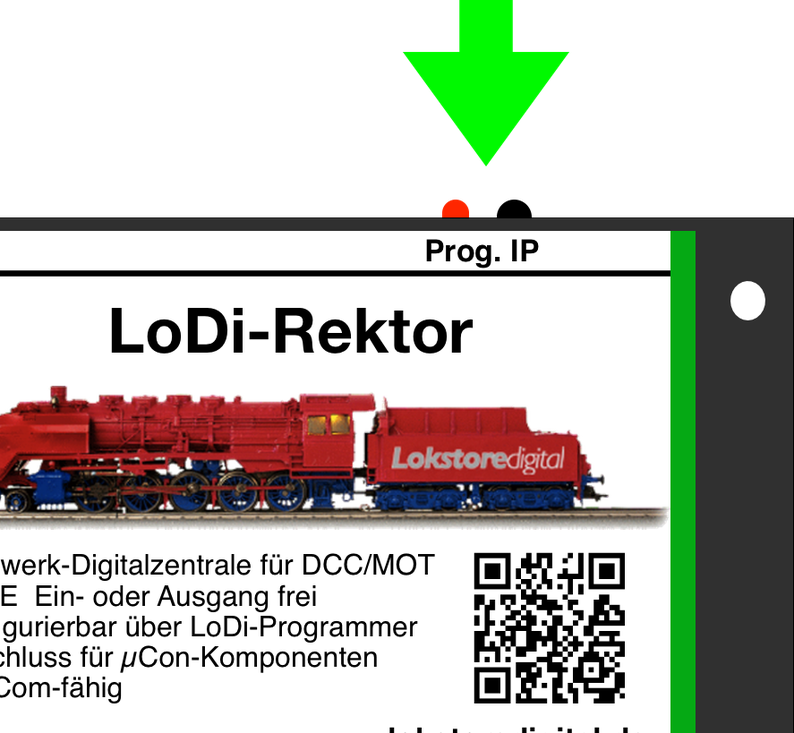
Once you have made all the settings, proceed as follows to apply the programming:
- Press the "Prog.-IP" button on the device. The LED next to the button glows red to confirm it is ready for programming.
- In the LoDi-ProgrammerFX, press the "Anwenden" button in the network settings. The settings are applied and the device restarts.
- Click the "Geräte Suchen" button in the toolbar.
The device or devices are now shown in the overview on the left. You can now start configuring the system.
2. Setting up a Wi-Fi-capable LoDi interface
The LoDi-S88-Commander LX, the LoDi-DMX-Interface and the LoDi-WS28-Interface are Wi-Fi-capable and can communicate with the computer or the LoDi-Con over Wi-Fi. The interface in question is best connected to a router or to a dedicated Wi-Fi access point at your layout.
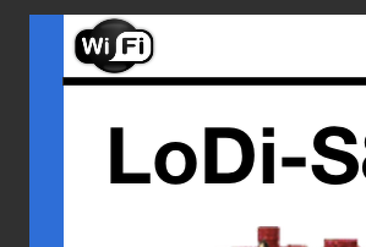
You can recognise the Wi-Fi-capable LoDi interfaces by the small Wi-Fi symbol printed at the top left. If that symbol is missing, it is a LoDi interface without Wi-Fi.
Please watch for sufficient signal strength, especially with devices such as the LoDi-S88-Commander LX, where time-critical feedback is involved. We therefore recommend using a cable connection for the S88-Commander LX where possible. In the Programmer we point out that you should consider a cable connection if the signal strength is no longer sufficient.
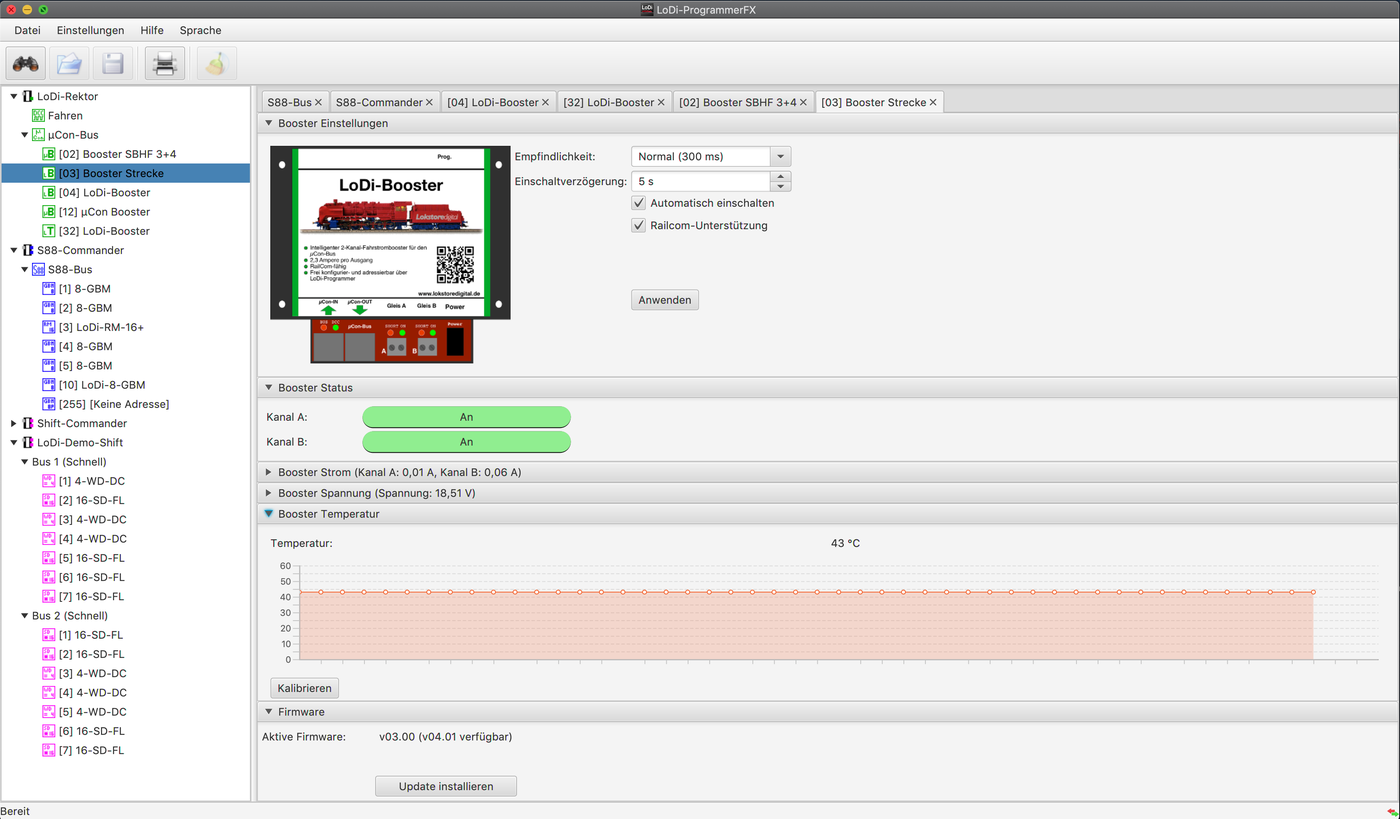
On all Wi-Fi-capable devices, including the S88-Commander LX, a small Wi-Fi symbol showing the signal strength appears next to the device name in the LoDi-ProgrammerFX. Please watch that display to make sure the connection is stable.
(We accept no liability for delayed messages and any resulting damage to rolling stock.)
With devices such as the LoDi-DMX-Interface and the LoDi-WS28-Interface, data transfer is not time-critical. They can therefore be integrated into the home or layout network over Wi-Fi very nicely as well.
To integrate the LoDi-S88-Commander, the LoDi-DMX-Interface and the LoDi-WS28-Interface into a Wi-Fi network, it is best to pick up your smartphone. You can however also configure the LoDi interface from a Wi-Fi-capable computer.
For the LoDi interfaces to be able to activate Wi-Fi, the network cable has to be removed. Only one connection can ever be active, either over cable or over Wi-Fi.
To integrate the LoDi interface into the Wi-Fi network, proceed as follows: remove the LoDi interface's yellow patch cable if it is plugged in, and supply the device with power through the USB-C socket. The device now starts and checks whether it can establish a connection over the cable. That process can take a moment. After that the LoDi interface switches to Wi-Fi mode, which is shown on the LoDi interface by the rear red LED now glowing red.
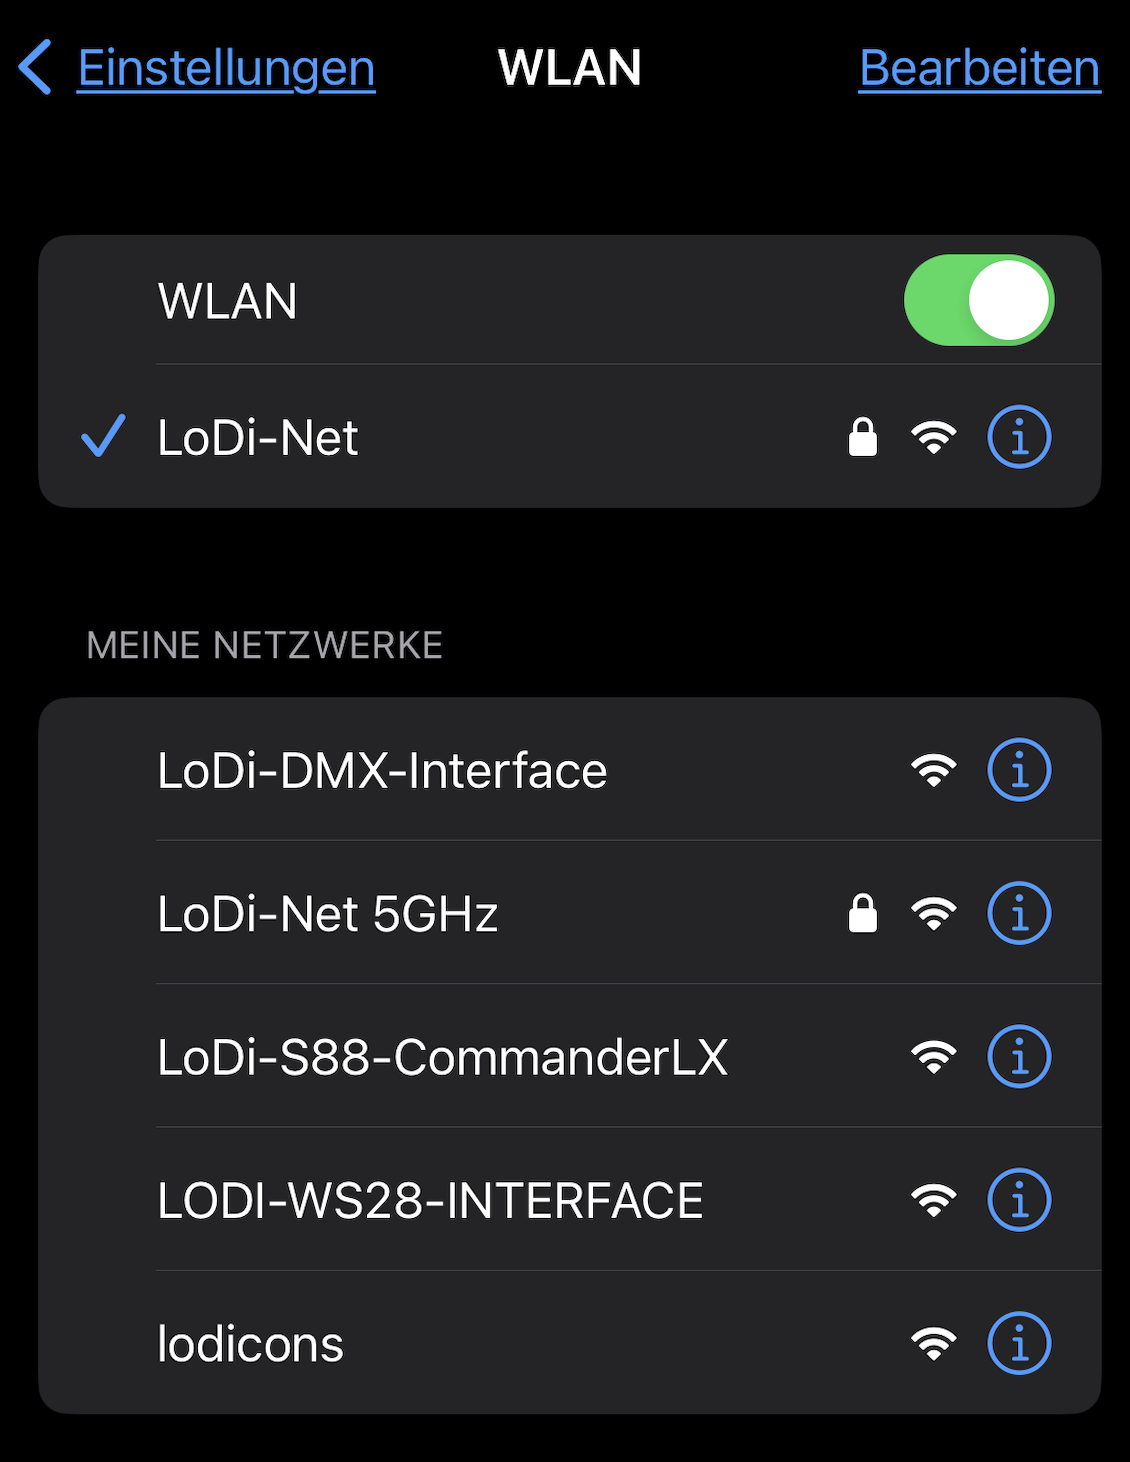
Now open the Wi-Fi configuration on your smartphone or computer and search for new networks. The LoDi interface in question will then be shown.
Now select the interface to be configured. In this case we have used the LoDi-S88-Commander LX.
Now start a browser and enter the IP address 192.168.4.1. Every LoDi interface is reachable at that IP address in direct mode.
You now reach the LoDi interface's start page. Here you can choose "ConfigureWiFi".
The LoDi interface now scans the networks and shows them to you.
Now select the network you want here and enter its password. Then press "Save".
The LoDi interface now tries to connect to the network. Once connected successfully, the LoDi-ProgrammerFX should find the device on the network.
If the device no longer reports on the network, or your network has changed and the interface no longer reports in, the device can also be reset to its factory setting with the Prog-IP button. To do that, press the button on the interface for longer than 10 seconds. The device restarts and is now in its as-delivered state.

Any questions still open?
Would you simply like to ask us in person?
Or go to our forum, where experienced users are glad to help you further.